Switch on Rebuild index on Docker
Published: 25 May 2022

In Sitecore, there is a mechanism for switching between active and rebuild indexes in order to avoid downtime in search functionality on the website. We, therefore, configured the Switch On Rebuild feature for this custom index so that the rebuilding process doesn’t affect the active index used on the live site.
You can set up the SOLR to rebuild an index in a separate core so that the rebuilding does not affect the search index that is currently in use. Once the rebuilding and the optimization of the index is done, Sitecore switches both the cores and the rebuilt, optimized index is used.
The SwitchOnRebuildSolrSearchIndex class inherits from the SolrSearchIndex class and adds the capability of maintaining two cores for a particular index. Because this is only important for production environments, you can reconfigure your custom index with SwitchOnRebuild.
Why this is required?
When we rebuild the Solr index, it deletes all the indexes and then creates new files. During this process, the indexes are not available. This impacts the website’s performance as Search is not available. Also, if any pages are dependent on indexes, those pages will stop working. This can definitely impact the usability of the website.
Here this feature is very helpful. The index is built in a separate index/core. Once the rebuild process completes, Sitecore switches to new index. This suggests minimum downtime.
Docker Solr
Docker Solr runs as SolrCloud. Switch on rebuild functionality has two different approaches, SwitchOnRebuildSolrSearchIndex and SwitchOnRebuildSolrCloudSearchIndex. So, Docker Solr runs as cloud and we have to use SwitchOnRebuildSolrCloudSearchIndex.
Please find below the steps to configure rebuild index in docker solr.
How to Create new Solrindex using Docker SOLR.
In the docker we have separate containers for SOLR
- solr init
- solr
If we want to create a new index in SOLR then please follow the below given steps.
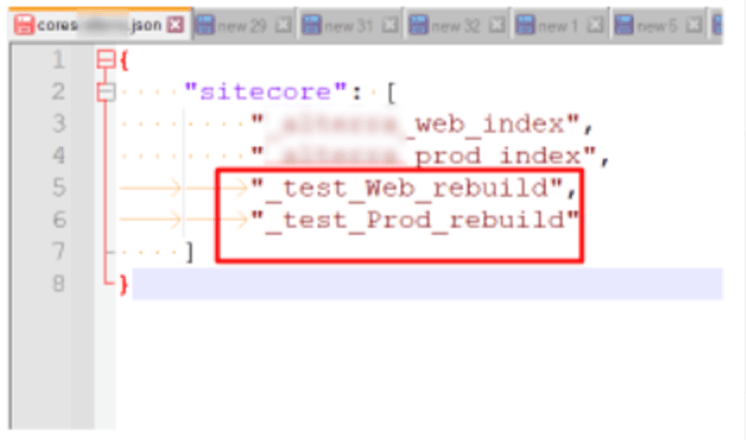
- Add one JSON file in \docker\build\solr-init folder and add your index name E.g., "sitecore_test_index_rebuild" into JSON as per the below screenshot. Here, I have added two indexes.
E.g. file name: cores-test.json (Name as per your convenience)
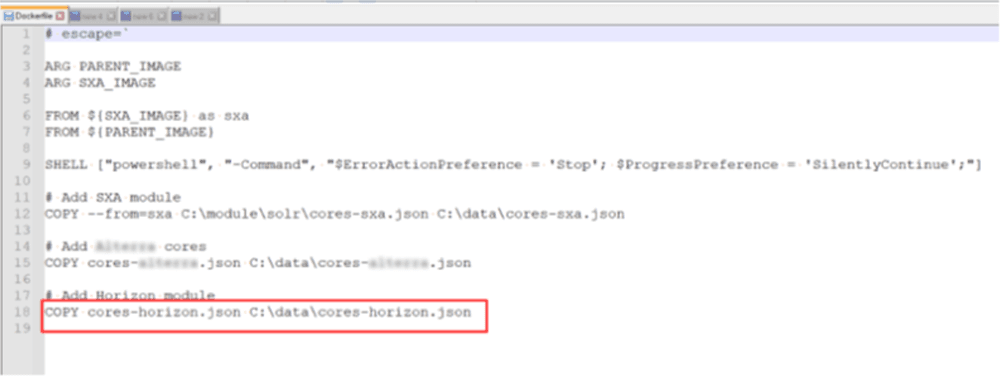
- Add path of "cores-test.json" file into dockerfile as per the screenshot.
E.g. COPY cores-test.json C:\data\cores-test.json
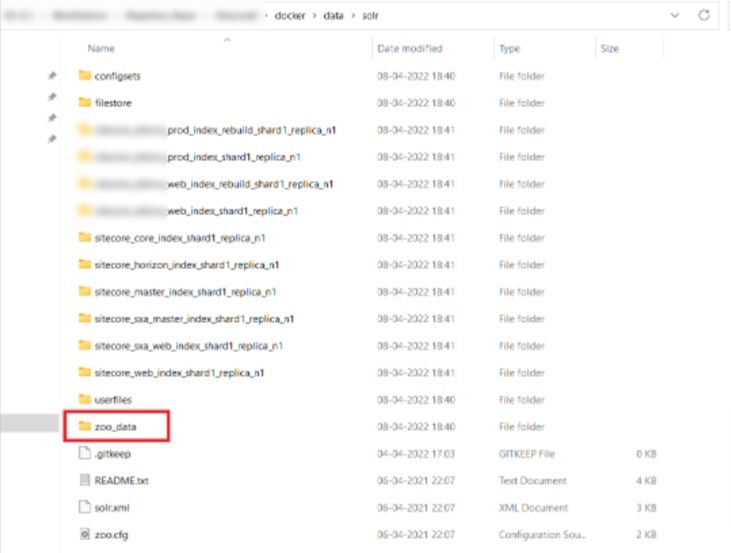
- Remove zoo_data folder from \docker\data\solr\zoo_data
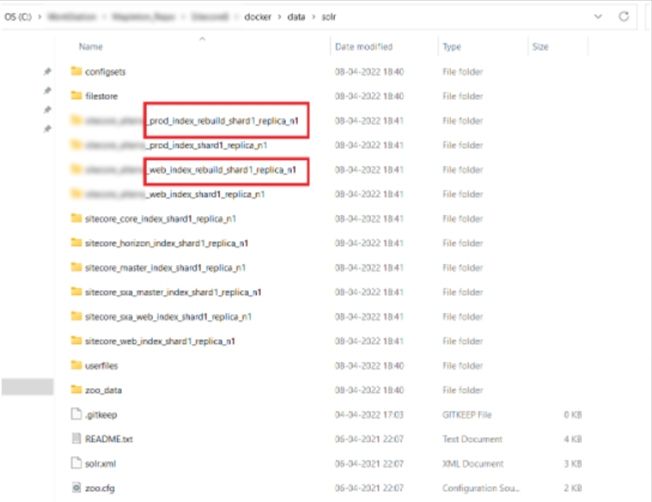
- Now execute command “docker-compose build” and then “doker-compose up” in powershell. You will get new index in solr folder. (If you added one index in cores-test.json file then you will get one new folder here.)
Restart solr init container in docker
Check solr to see if you can see new index
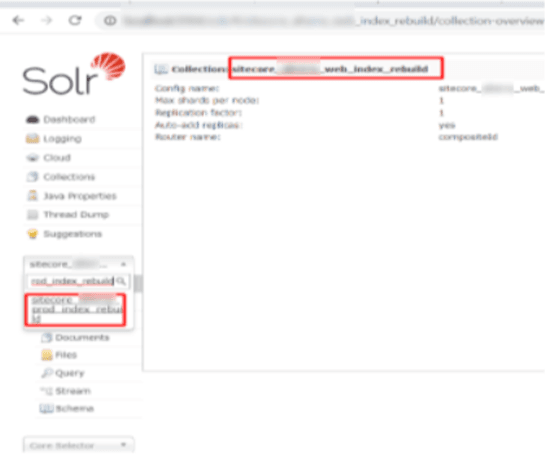
If you require some changes in the configuration level then create a new patch configuration for the SwithonRebuild.
You can get this config from example configs of any of your project from path
App_Config\Include\Examples\
Sitecore.ContentSearch.SolrCloud.SwitchOnRebuild.config.example.
Copy this example config and put it into your App_Config folder and remove extension “example” and do necessary changes as mentioned below.
Config changes as per environment type:
- Scale Environment: If you have scale environment then you need to make changes as per the role (Dev,UAT,Production)of environment as per below image.
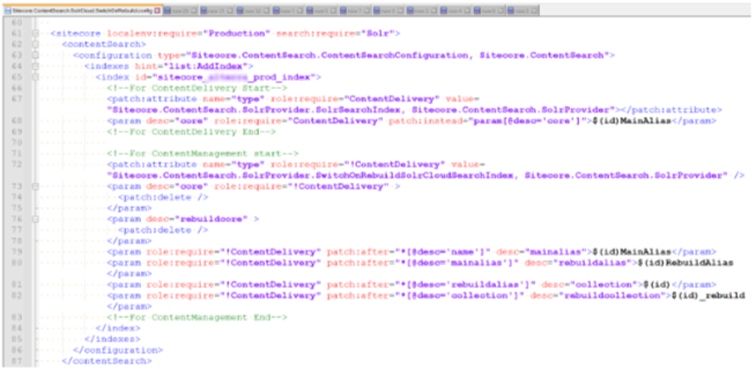
- Single Environment: If you have single environment type then you need not worry about role-based changes. (Just need to change your index id from config)
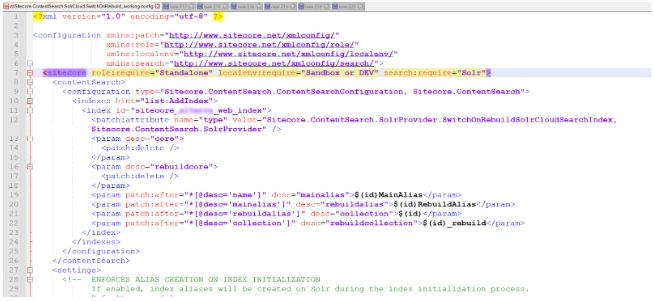
Add all index collection names in SwithonRebuild.config
- Now go to CMS Sitecore >> Control Panel and open Populate Solr Managed Schema.
- Populate your new custom index.
- Go to Index manager and rebuild your new custom index.
Now you can verify your search functionality. On one side your index rebuild is going and on the other side your search functionality is working fine on the website. That is the magic of Switch on Rebuild index. We can use Switch on rebuild functionality on solr cloud, Searchstax etc.

Mitesh Patel - Technical Head - ADDACT
Sitecore || XMCloud || OrderCloud Certified
Mitesh, a distinguished Technical Head at Addact/Addxp, is a prominent figure in Sitecore/XMCloud/OrderCloud certified writing. From Sitecore XM Cloud Developer Certification to Sitecore 10 .NET Developer Certification and Sitecore OrderCloud Certification, Mitesh's expertise is unparalleled. Mitesh is not only a skilled Sitecore CMS developer but also a 12+ years experienced software engineer proficient in various technologies such as MVC, ASP.Net, C#, jQuery, and Azure cloud/AWS.
