Sitecore Headless 10.2 Without Docker
Published: 24 March 2024
First you need to install the prerequisites:
- .NET Core 3.1 SDK (check your installed version with the dotnet –version command)
- .NET Framework 4.8
- Visual Studio 2019
- PowerShell 5.1 (PowerShell 7 is not supported)
- Sitecore 10.2
- Helix Example code
Download and install in Sitecore instance:
- Sitecore Headless Rendering Service:
https://dev.sitecore.net/Downloads/Sitecore_Headless_Rendering/19x/Sitecore_Headless_Rendering_1900.aspx - Sitecore Management Services:
https://dev.sitecore.net/Downloads/Sitecore_CLI/4x/Sitecore_CLI_411.aspx
Once everything is prepared, you have to install the Sitecore Headless Rendering Service. This module provides you with server-side APIs and components that are required for the ASP. NET Core Rendering SDK and JavaScript Rendering SDKs (JSS).
After this, let’s go back to the Helox example. It implements a basic company site and we already have some Sitecore Items that we can install on your Sitecore 10.2. These custom items are managed using the new Sitecore Content Serialization system for serializing, sharing and deploying the content items. It also helps in keeping these items in version control.
To use Sitecore CLI, you need to install the Sitecore Management Services package in your Sitecore CM instance.
Installation Process:
- Install Sitecore 10.2
For Sitecore installation follow below links,
https://www.youtube.com/watch?v=mXeh18FPdfw&t=1s
OR
https://getfishtank.ca/blog/how-to-install-sitecore-10-1-0-using-sia - Now you are ready to use Sitecore CLI:
- Open a PowerShell with administrator privileges.
- Run the following commands to install Sitecore CLI as a local project tool:
- cd <project folder>
dotnet new tool-manifest
dotnet nuget add source -n Sitecore https://sitecore.myget.org/F/sc-packages/api/v3/index.json
Here use the latest version using this command dotnet new tool-manifest --force
If you are not able to install Sitecore
CLI, please follow these steps:
step 1: dotnet tool install Sitecore.CLI
step 2: dotnet sitecore init
step 3: For Serialization and public, use below command
dotnet sitecore plugin add -n Sitecore.DevEx.Extensibility.Serialization
dotnet sitecore plugin add -n Sitecore.DevEx.Extensibility.Publishing
step 4: dotnet sitecore plugin list
step 5: dotnet sitecore -h - Login the Sitecore CLI with the following command.
dotnet sitecore login --cm https://s10coresc.dev.local/ --auth https://s10coreidentityserver.dev.local/ --allow-write true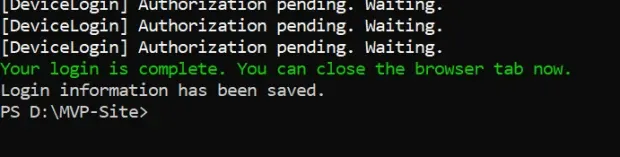
This will open a browser tab with the Sitecore login page. Use Sitecore 10.2 admin credentials to login and allow access to the service.
Once logged in, push the latest serialized items using the Sitecore CLI by running the following command.
dotnet sitecore ser push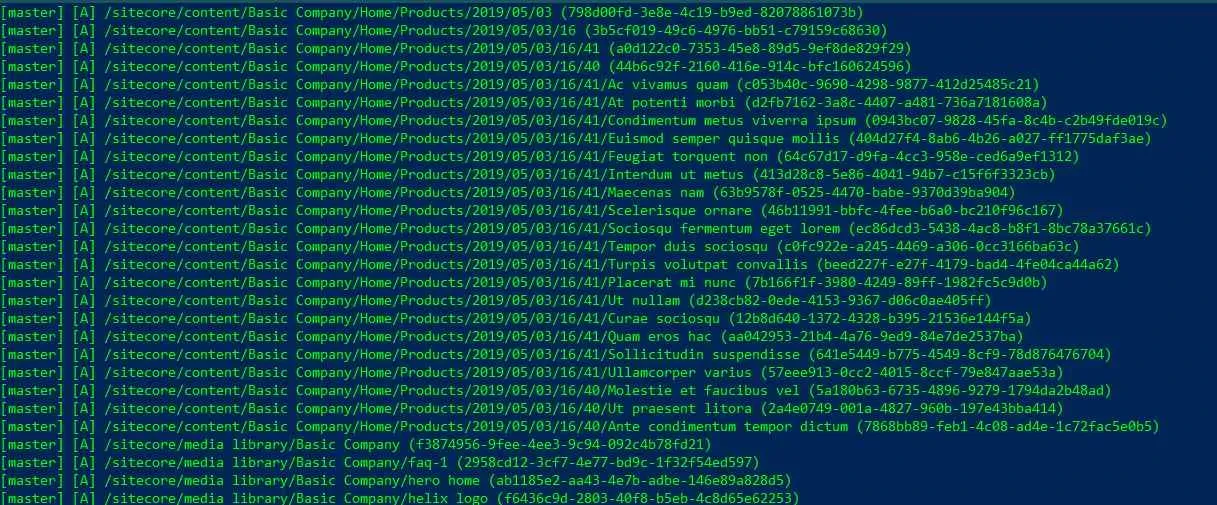
After finishing this, let's publish all of those items using this command:
dotnet sitecore publish
Once above command is successfully run, you should see below websites created in content tree.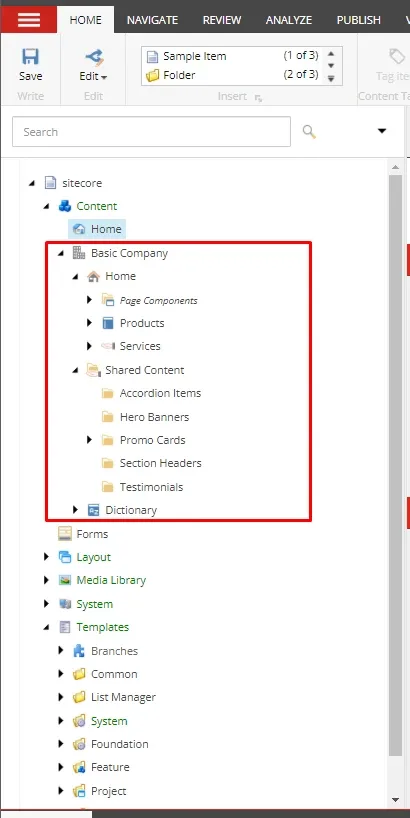

Mitesh Patel - Technical Head - ADDACT
Sitecore || XMCloud || OrderCloud Certified
Mitesh, a distinguished Technical Head at Addact/Addxp, is a prominent figure in Sitecore/XMCloud/OrderCloud certified writing. From Sitecore XM Cloud Developer Certification to Sitecore 10 .NET Developer Certification and Sitecore OrderCloud Certification, Mitesh's expertise is unparalleled. Mitesh is not only a skilled Sitecore CMS developer but also a 12+ years experienced software engineer proficient in various technologies such as MVC, ASP.Net, C#, jQuery, and Azure cloud/AWS.