Installation guide - Sitecore experience platform 10.0 including Horizon and DAM
Published: 11 August 2020
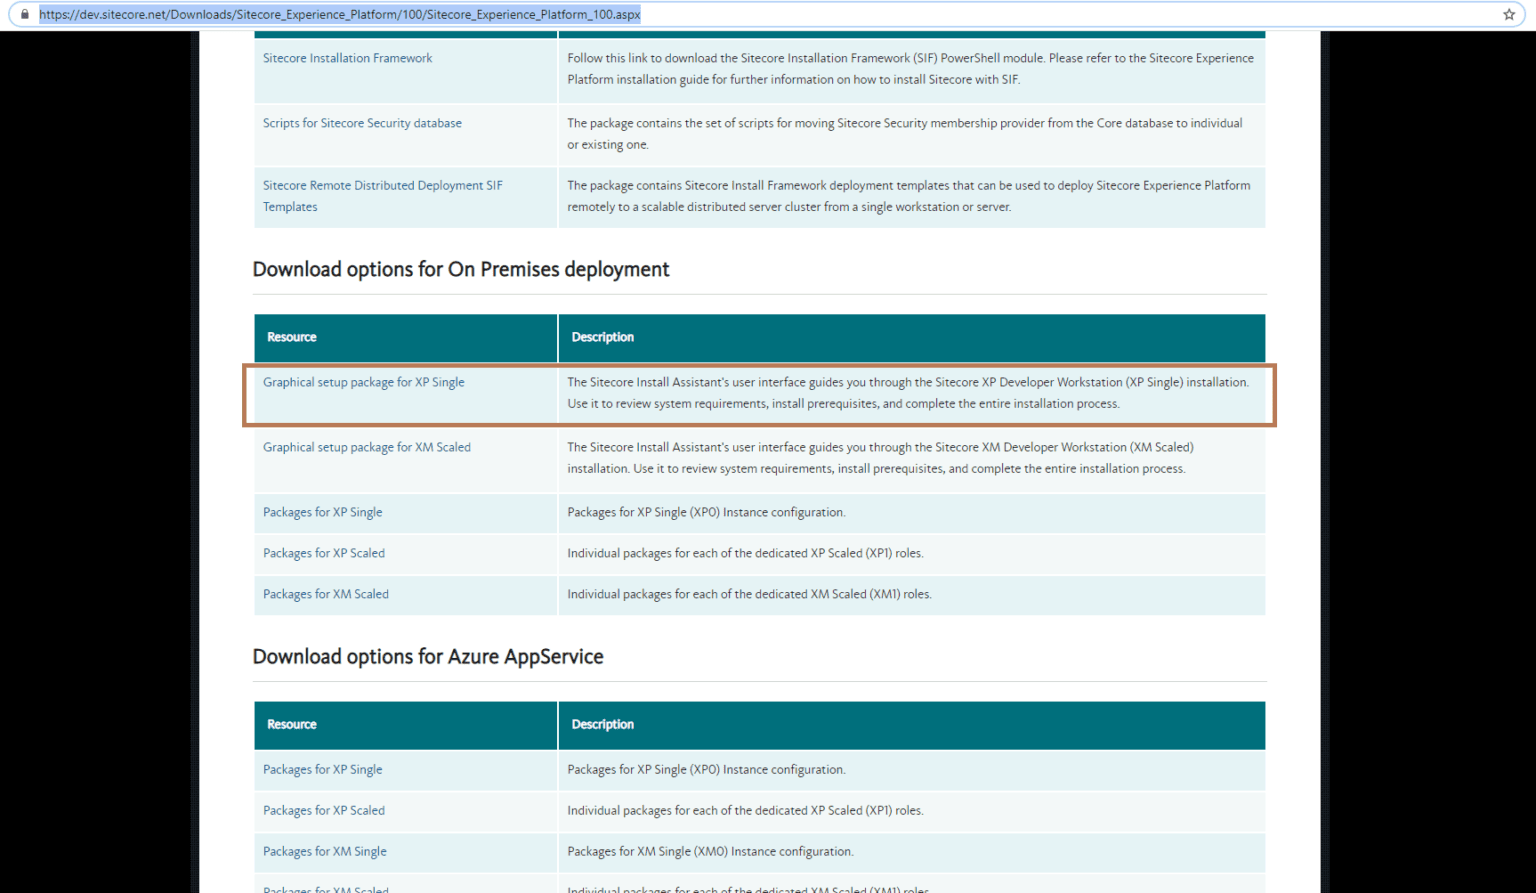
Download Sitecore 10 from dev.sitecore.net
https://dev.sitecore.net/Downloads/Sitecore_Experience_Platform/100/Sitecore_Experience_Platform_100.aspx and Unzip Sitecore 10.0.0 in C:\Sitecore
Before installation here I have made some changes for solar, because by default it installs solr with duplicate folder name (example: C:\Solr\Solr-8.4.0solr-8.4.0) but I don’t want to install my solr with duplicate name, so below are my changes:
- Open “Solr-SingleDeveloper.json” and search for “Solr.Service” line No: 75 and remove “parameter(‘SolrServicePrefix’)” and save file. –[ FROM: “Solr.Service”: “[concat(parameter(‘SolrServicePrefix’),variable(‘Solr.FileName’))]” TO “Solr.Service”: “[concat(variable(‘Solr.FileName’))]” ]–
- open setup.exe.config and remove all “Solr-8.4.0” available in file and remove “cm” from “SitecoreContentManagementSitename” value.
Run the setup.exe as an administrator.
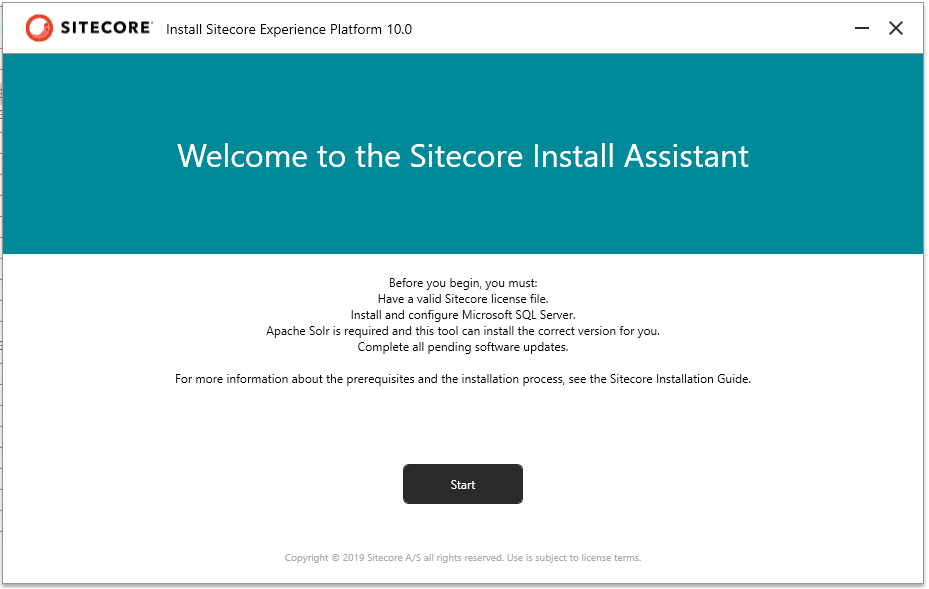
After click on Start button it will navigate to install prerequisites section, which will install all prerequisites in your system and after successful installation, it requires restart.
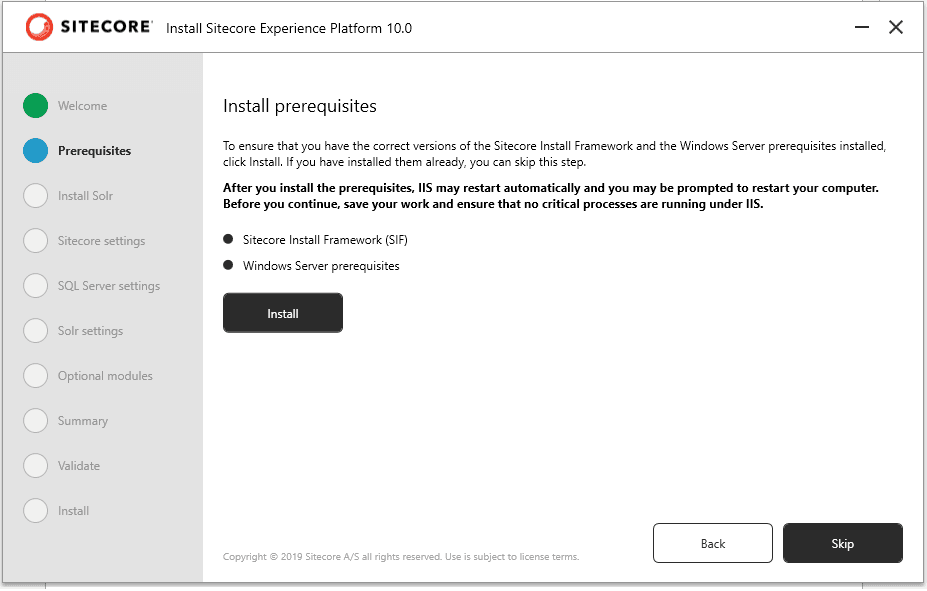
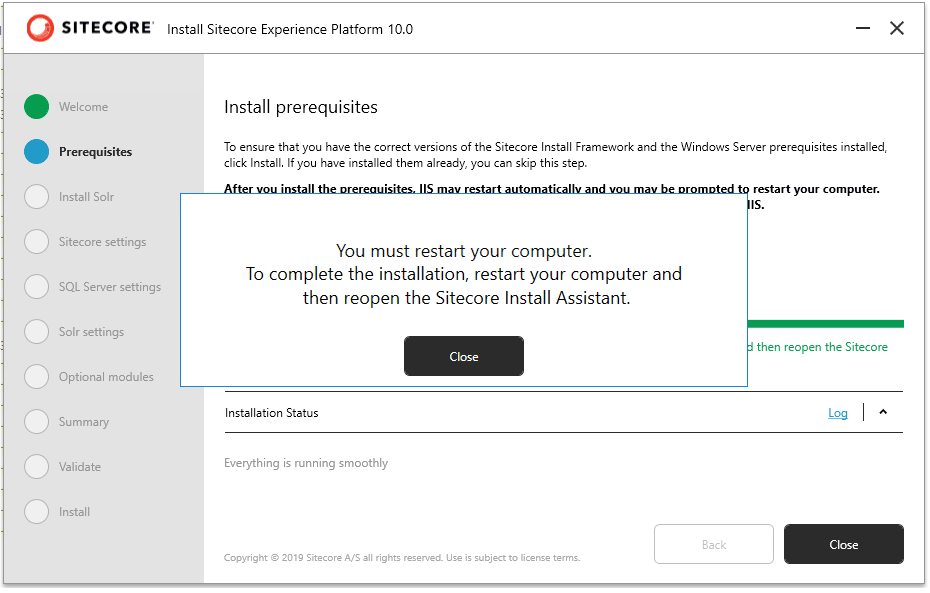
After getting restart, start setup again and now this time skip a prerequisites step.
Install Solr search service, assign 8983 solr port as a by default and then service name and installation path. But here in my case, i have already installed solr 6.6.2 on port number 8983 so i have assigned a different port in solr port section.
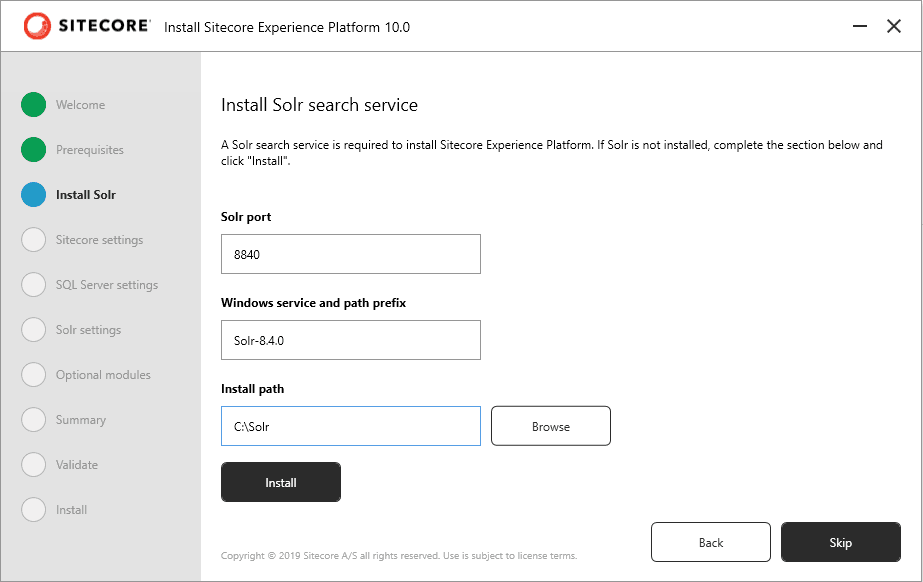
Now click on install, it will get download automatically and installed in your pc with SSL certificate.
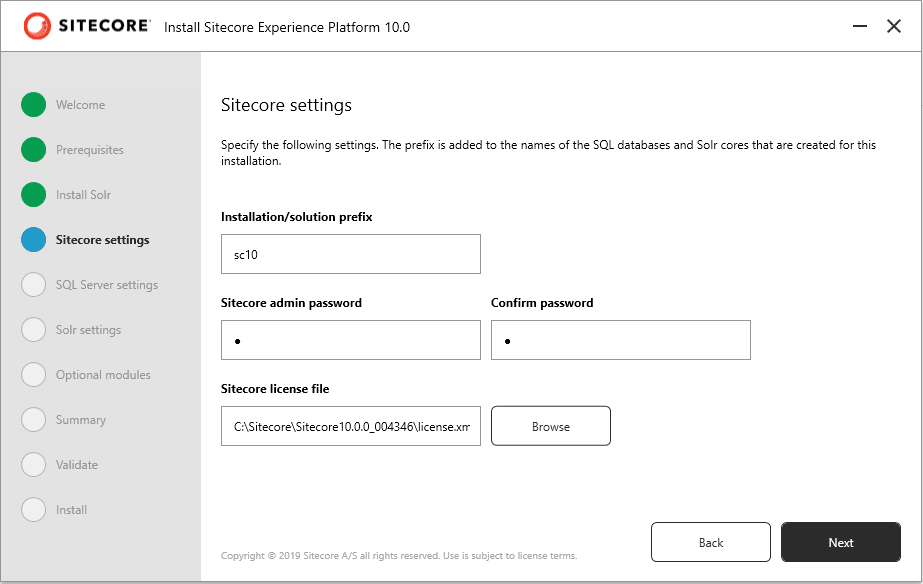
In this step you need to provide Sitecore installation name, Sitecore admin password and your license file.
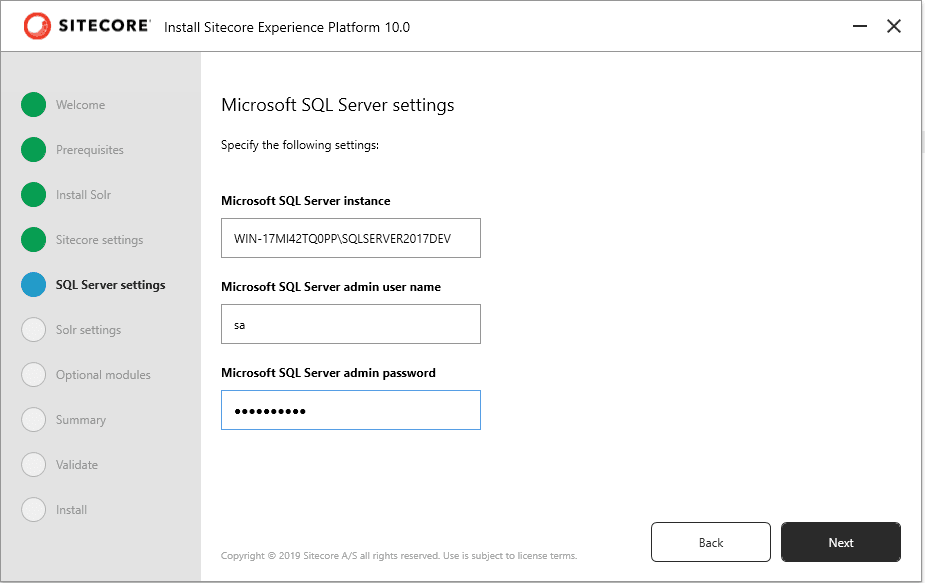
MSSQL server settings, in this step enter SQL server name, Admin user name and password [note: For SQL server Sitecore 10 needs version 2017 or higher and required SQL server authentications.]
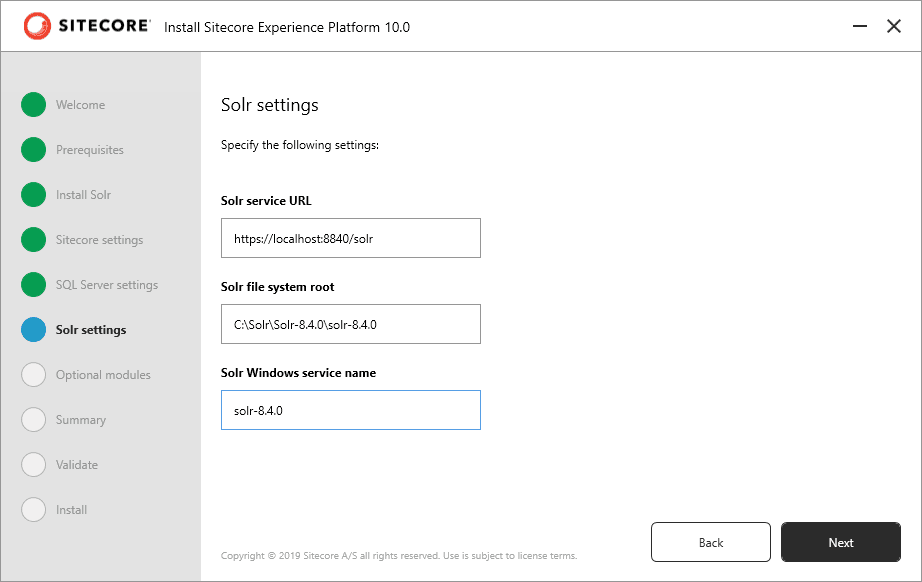
Solr setting for Sitecore in this step gives a solr URL, path for the file and service name.
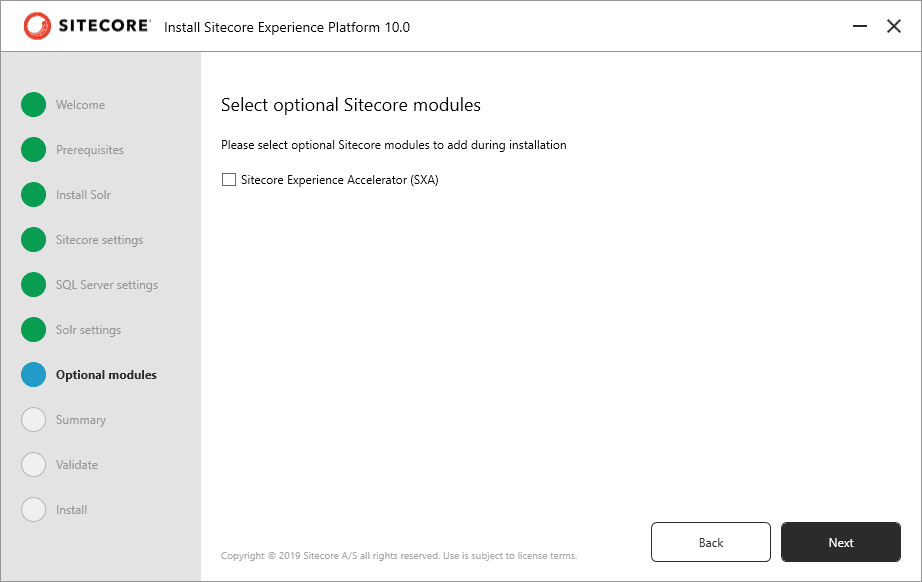
Optional modules in this step there would be a checkbox displaying Sitecore SXA module, if you wish to install SXA then just check the checkbox and it will get installed in your website.
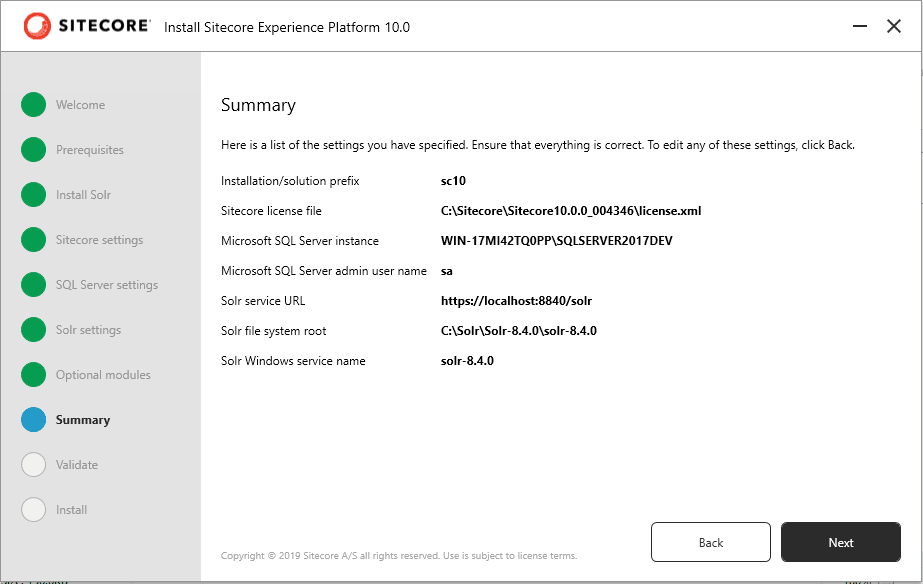
In this step window will display all the details which is entered, as a summary for verification.
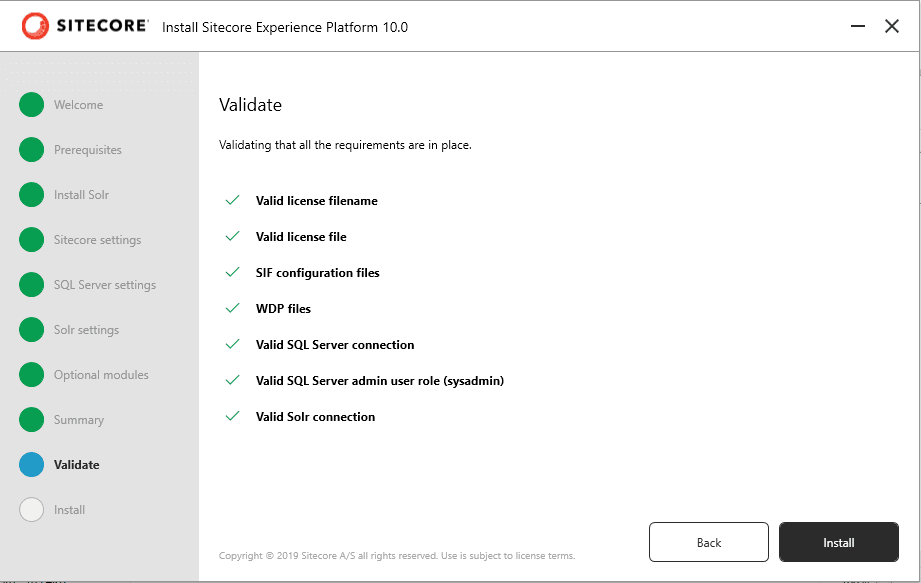
In this step setup will validate all parameters and environment to install Sitecore XP 10.
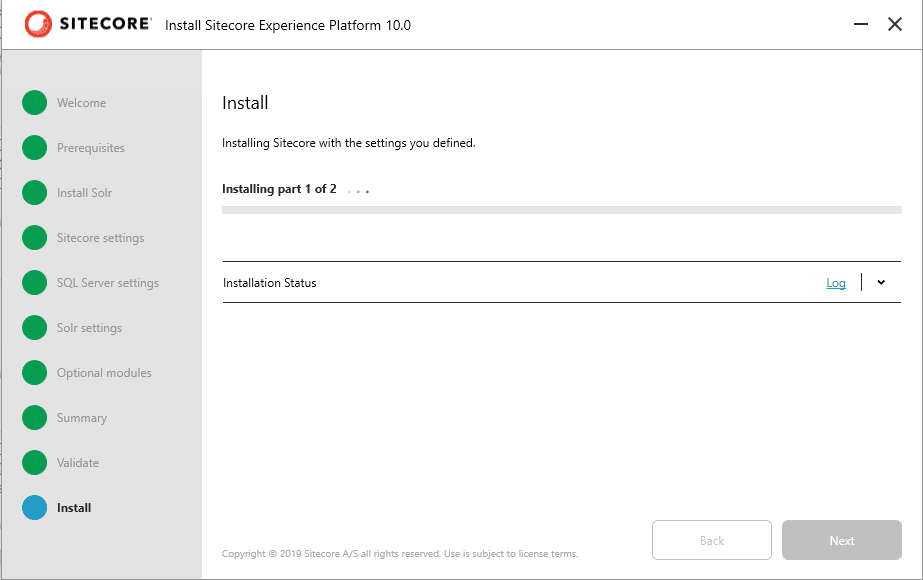
In this step, setup going to install Sitecore xp 10 in your PC, it will take some time and if is there any error comes during installation then it will display it, under Installation Status Log.
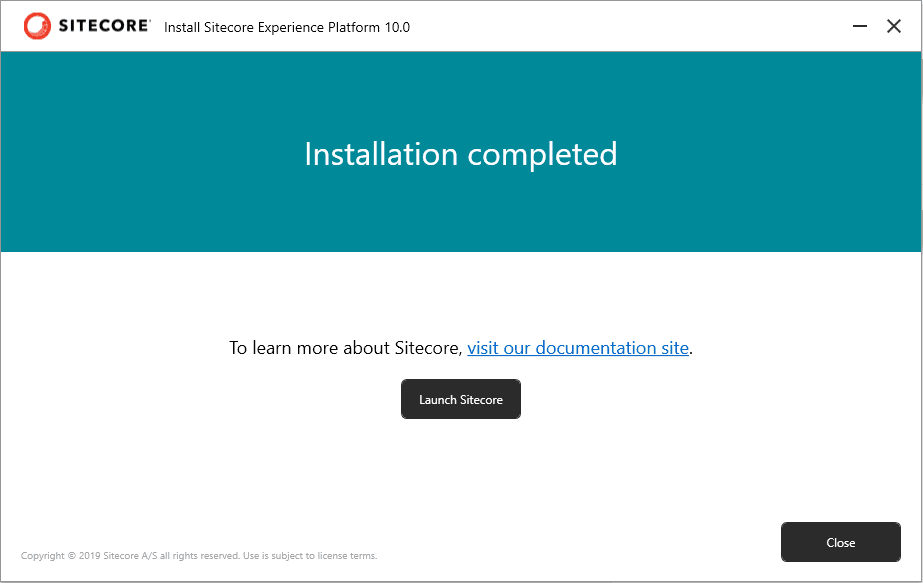
This once is the last screen after successful installation of Sitecore XP 10. There is a button on screen to Launch Sitecore, upon click on this button, there will be newly installed website in the browser.
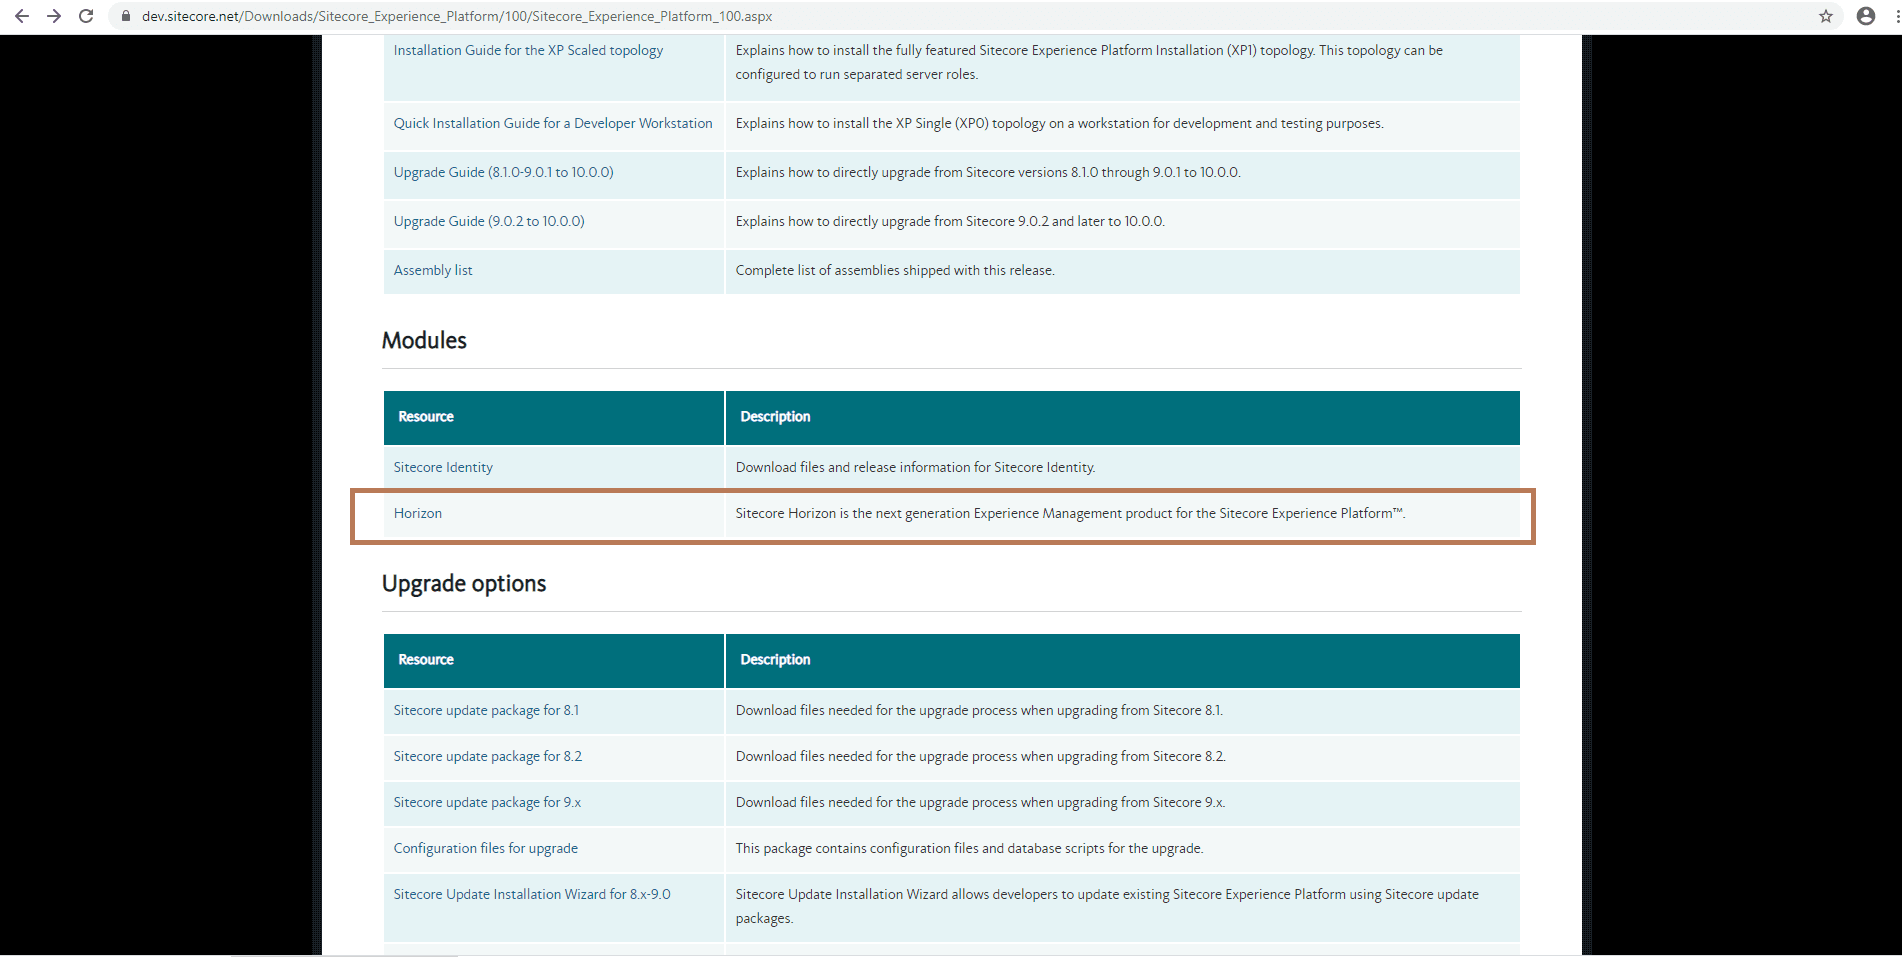
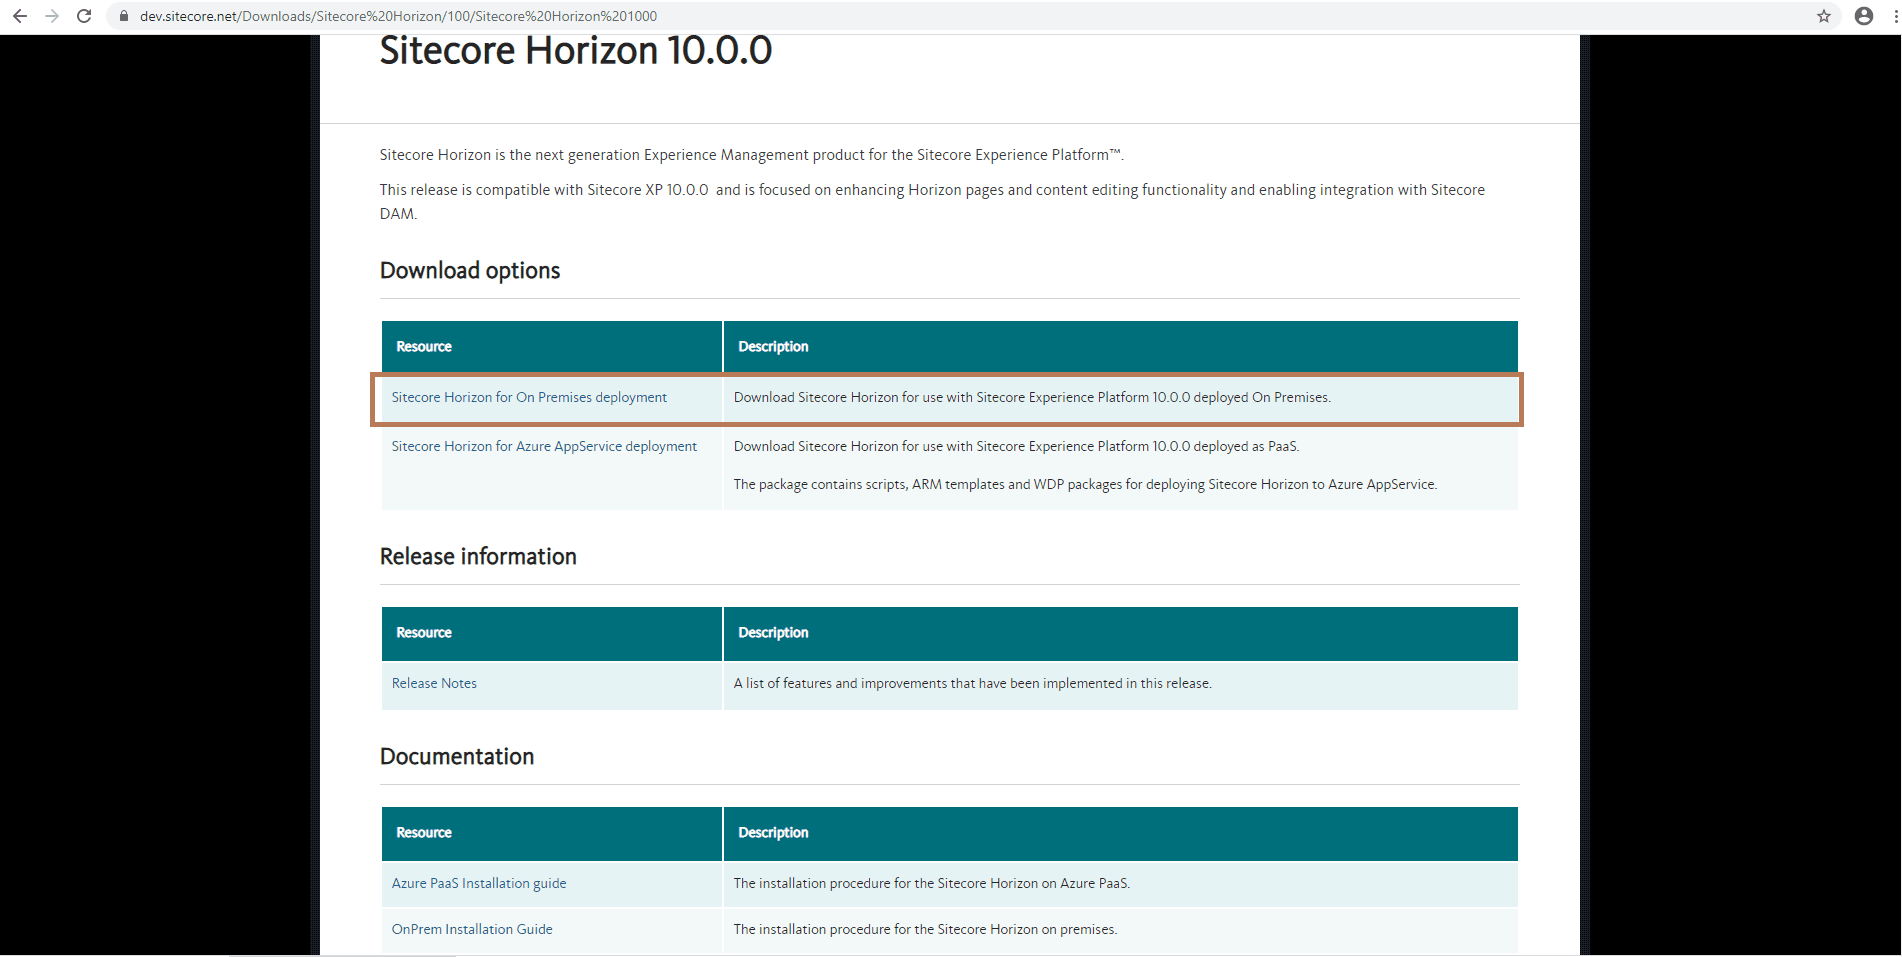
Sitecore experience platform installation is completed, now if you want to take a leverage of next generation Experience Management product for the Sitecore Experience Platform then install Horizon 10.0.0, To install it go back to Sitecore 10 download page and scroll down to see Modules section with Horizon link. Click on link and page will redirected to horizon download page.
Download “Sitecore Horizon for On Premises deployment”.
Unzip downloaded file and open installHorizon.ps1 file into Windows PowerShell ISE in administrator model and update variable [$horizonInstanceName, $horizonPhysicalPath, $horizonAppUrl, $sitecoreCmInstanceName, $sitecoreCmInstanceUrl, $sitecoreCmInstansePath, $identityServerPoolName, $identityServerUrl, $identityServerPhysicalPath, $licensePath, $enableContentHub and $topology].
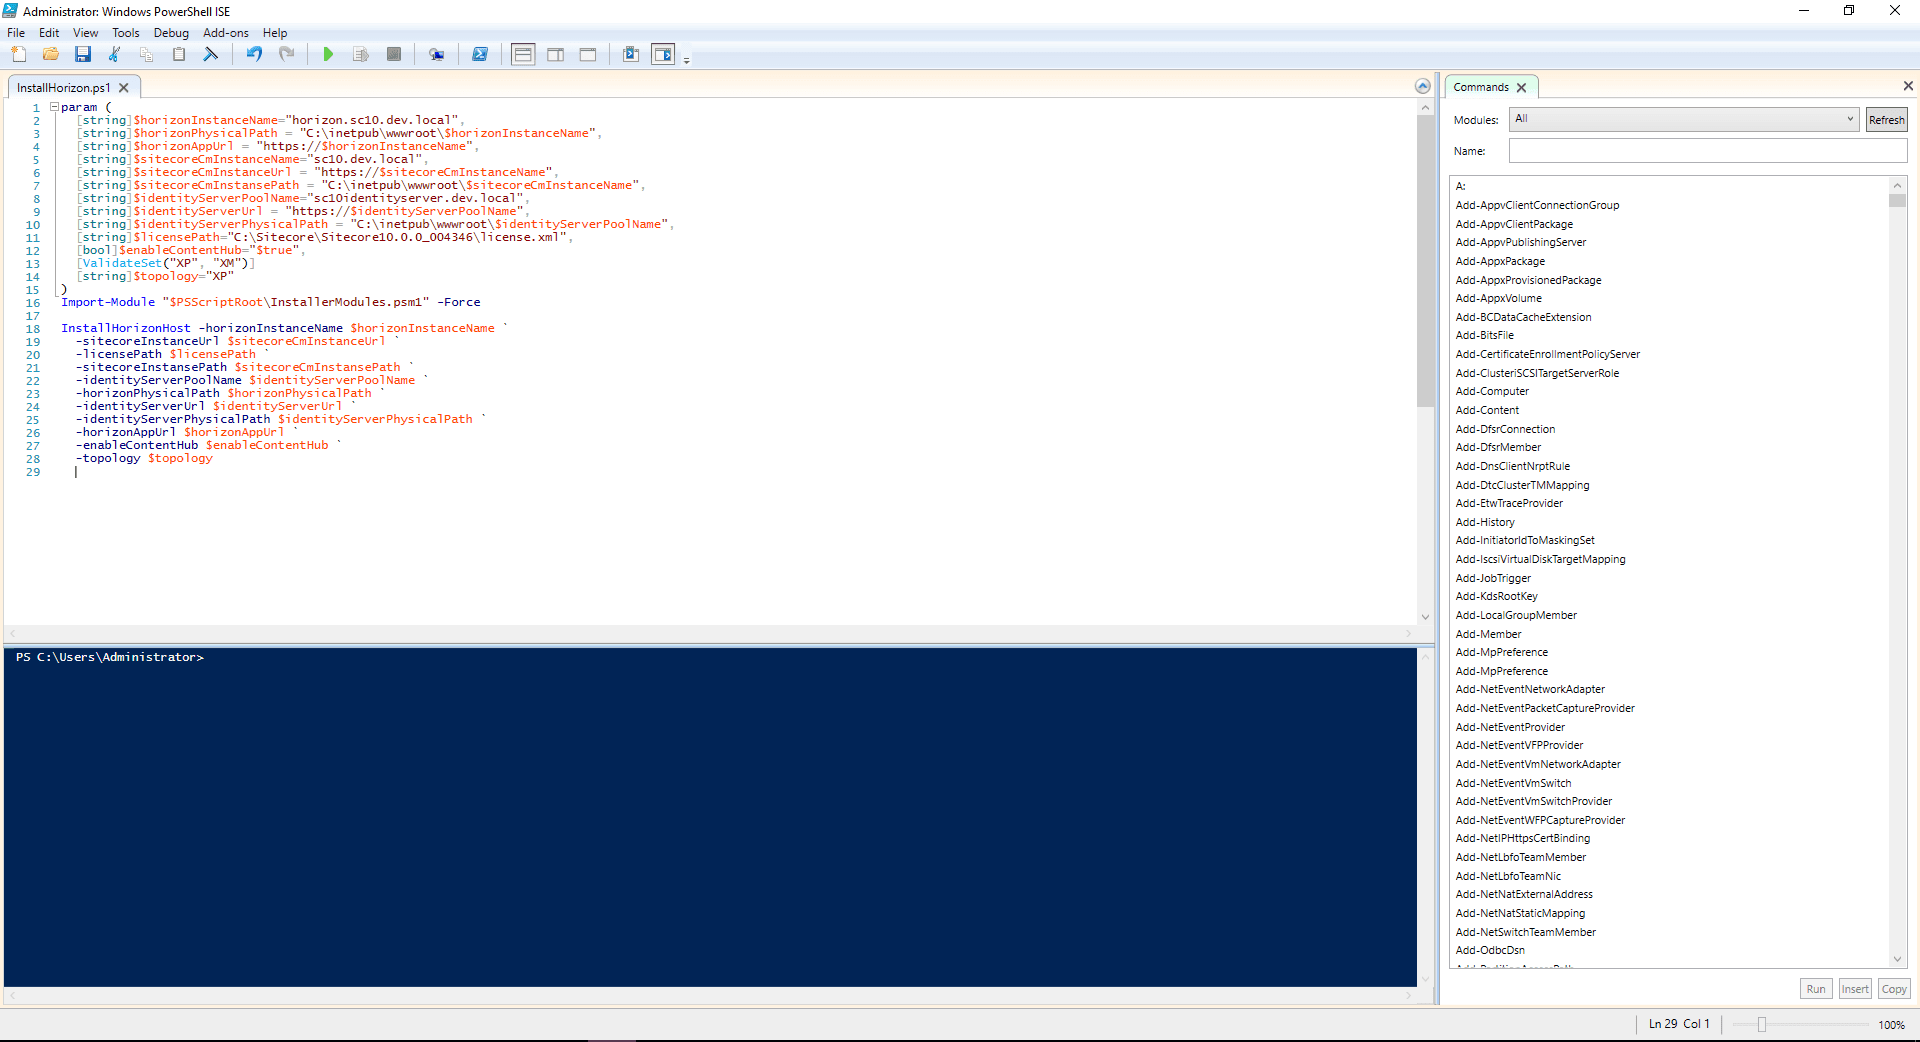
In above setting I gave $enableContentHub=$true because after installation of Horizon, we will install DAM.
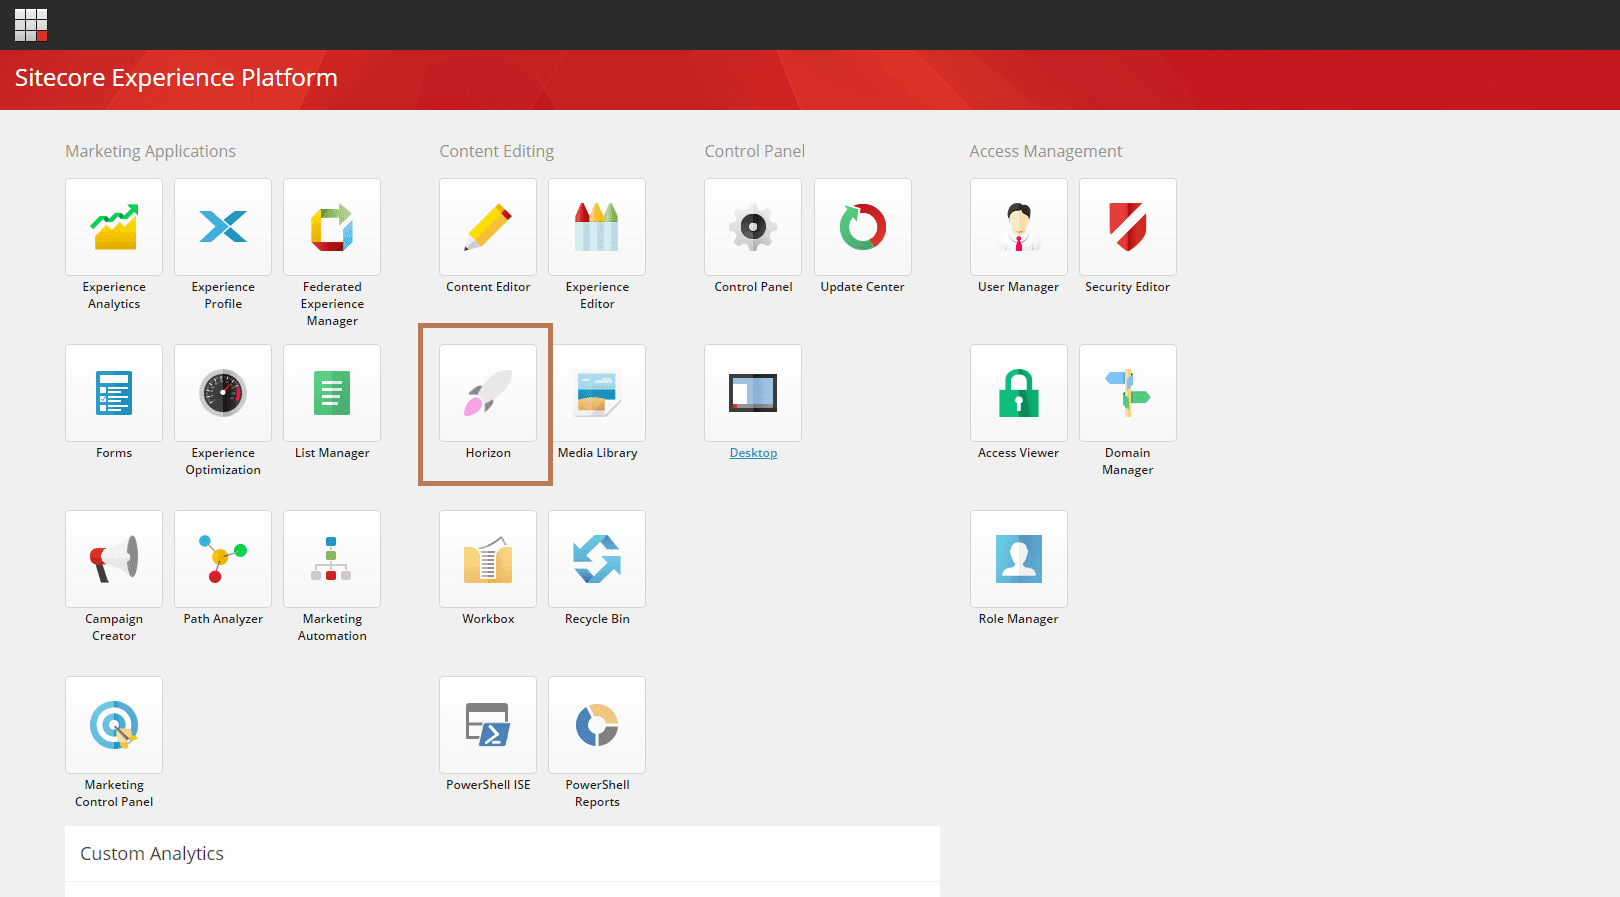
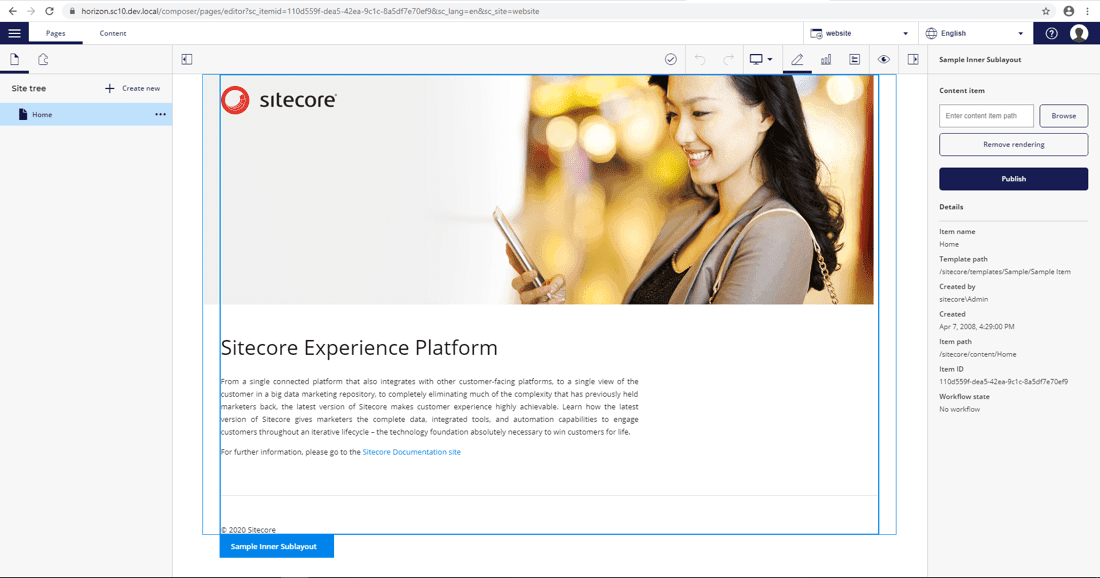
After set-up, run this scrip, it will automatically create a website like “horizon.sc10.dev.local” and install all settings in website. After completion of setup you will see an additional icon for horizon in launchpad. Upon click on that icon you can see a new Horizon website.
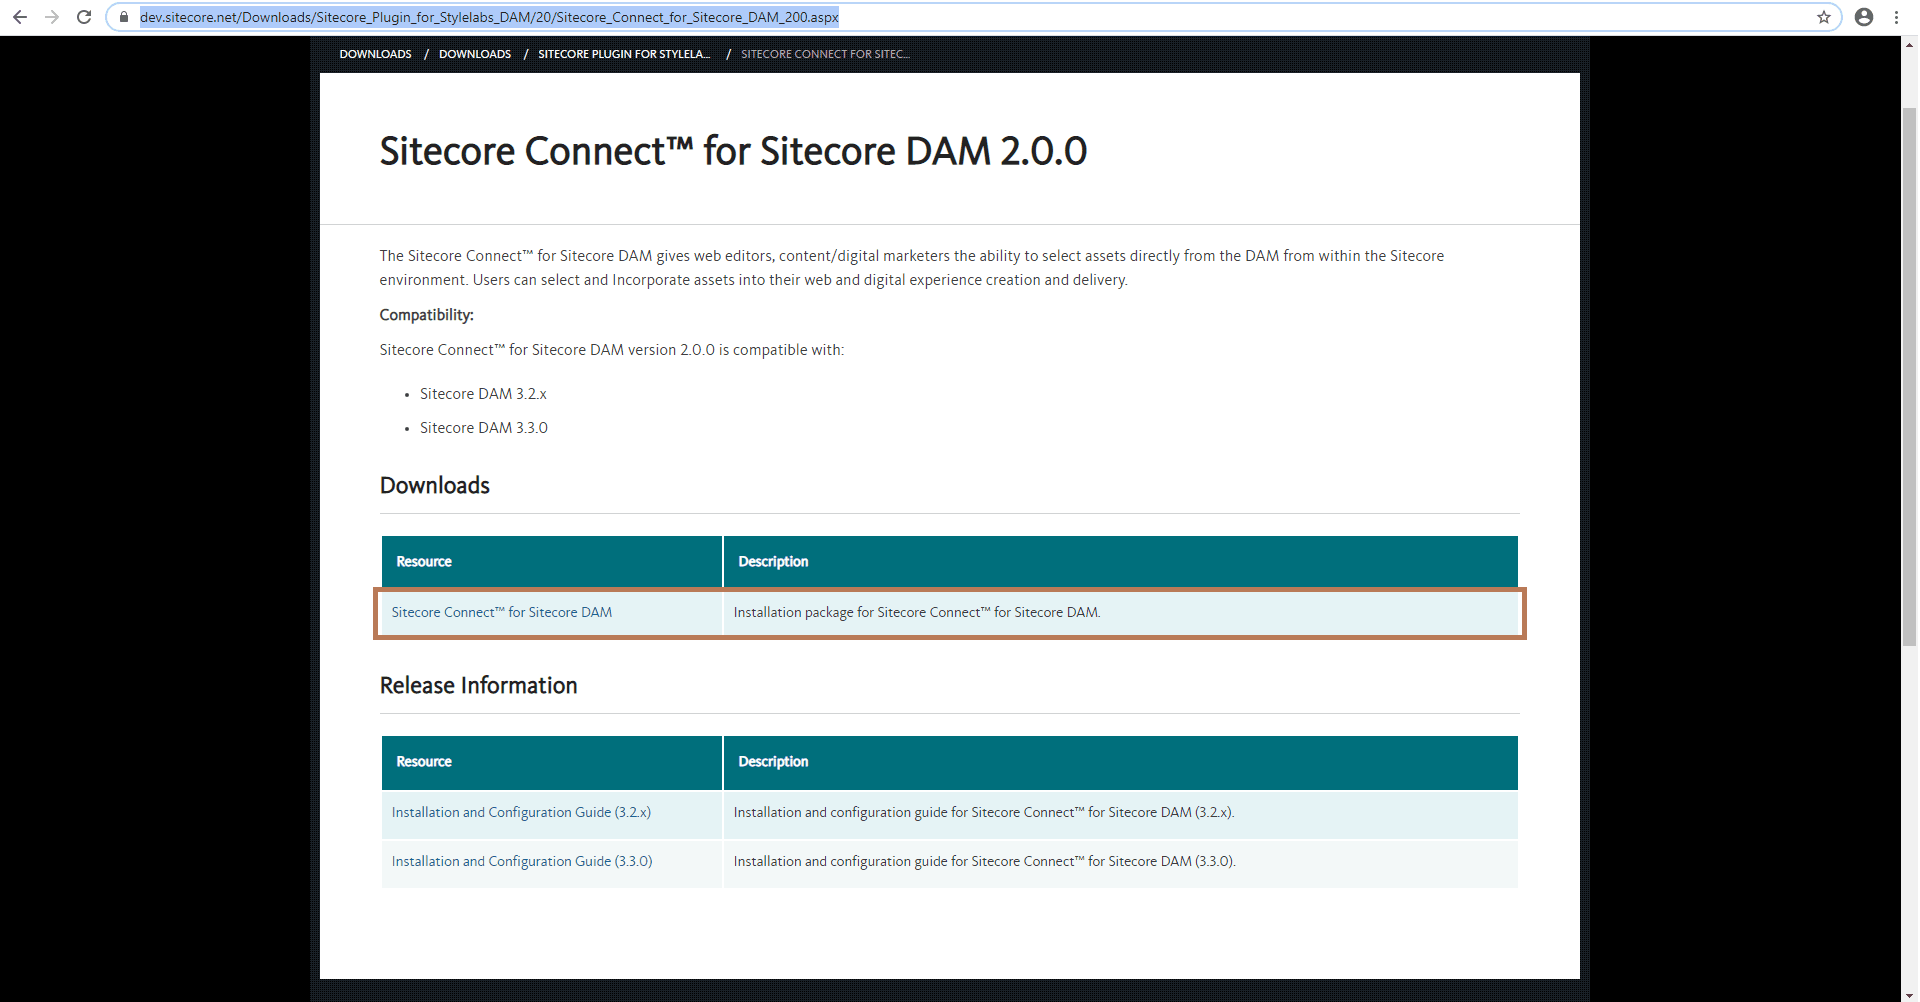
As I told in previous step, now we are going to install a DAM into website, for that download the package or DAM from dev.sitecore.net
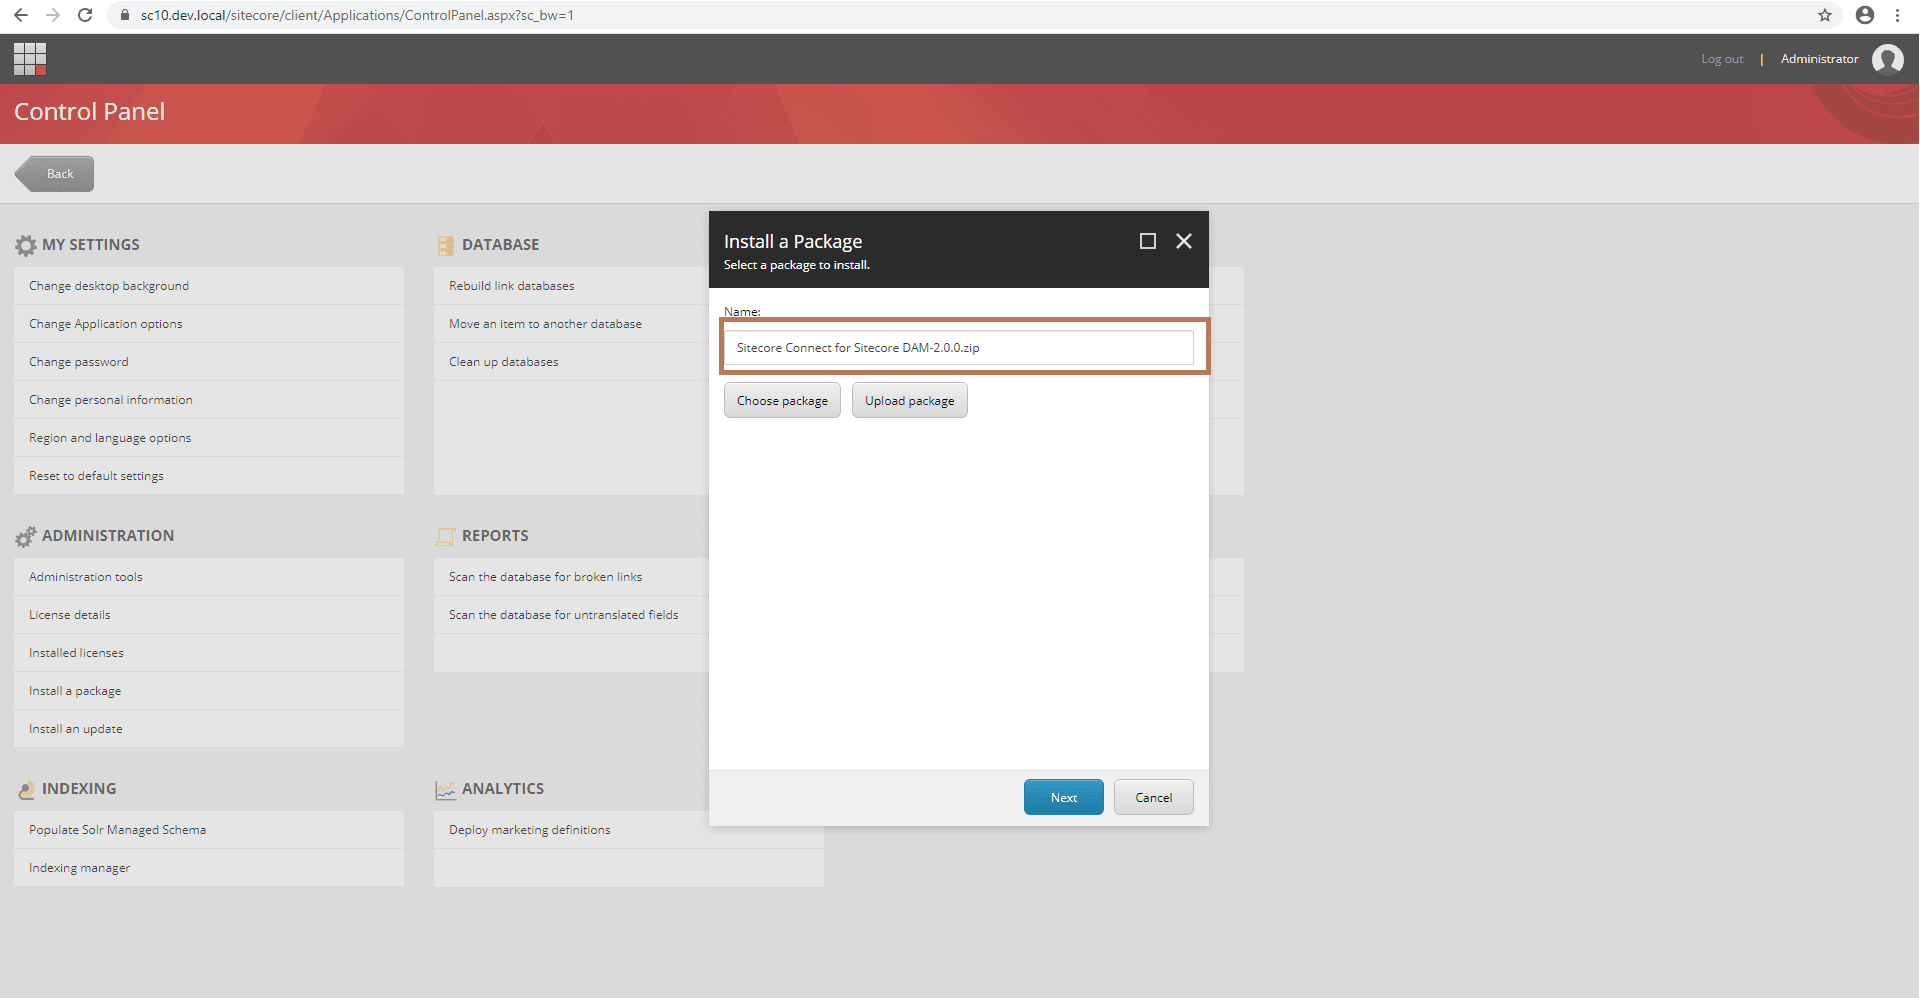
Install a DAM in your website, open your website Sitecore >> control panel >> install a package >> upload DAM zip and install package.
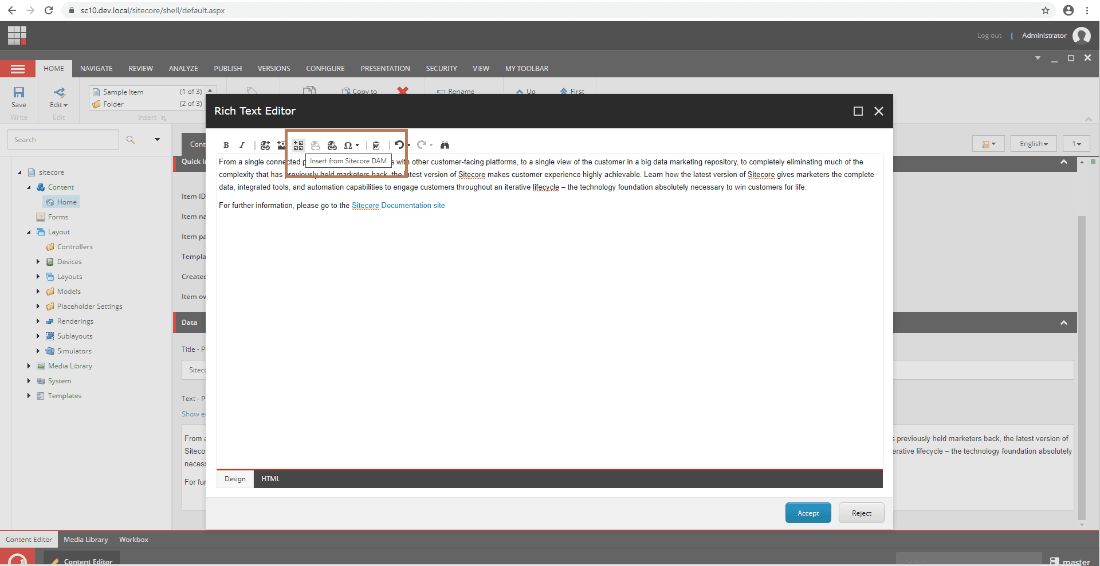
After installation of DAM package, website is ready to use DAM for content edit
Now everything is installed in your local environment. If you want to use Sitecore content hub in website then apply your credentials and move further, still if you need a guideline for content hub, here is the link for more information.
If you still need help while installation of the experience platform 10, then connect with the sitecore development company.

Maulik Dudharejia - Co-Founder & CMO - ADDACT
Sitecore MVP 3X || Digital Transformation Strategist || Marketer
Maulik Dudharejia is a visionary author, co-founder, Chief Marketing Officer, and a digital transformation expert with over 12+ years' of experience. He leverages industry certifications to translate complex tech concepts into engaging writing. His areas of expertise include Sitecore, IoT, and IT Service Management. Maulik offers valuable insights and strategies to help readers navigate the evolving tech landscape.
