- Services
- Company
B2B Partnership with Addact will help you organisation to grow
Ensure sustainable success as we support our business partners at each step with our Partnership program.
- Resources
 MAIN MENURead what is latest in our industry and learn more about digital transformation and technology.
Blogs
Get all of Addact’s announcements and Sitecore press releases.
Press Releases
Watch some interesting insights directly from the industry experts.
Videos


- Company
 About Us
 Careers
Hiring
Careers
Hiring
 Our Story
 Let’s talk
Let’s Talk
We would love to hear from you. Want to know more about
our services or have any questions? Say Hi!
Need An Accurate Estimate For Your Sitecore XM Cloud Migration Project? Kickstart Your Journey Here!
Get My EstimateImplementing Amazon CloudFront CDN to deliver Sitecore Media

What is Sitecore OrderCloud? Major features & benefits

How Sitecore Support Services are beneficial for your business?
A Guide to Sitecore Experience Manager Cloud
Most awaited post we wanted to present in Sitecore Community. Major objective of this article not to compare Azure CDN with Amazon CloudFront CDN but we thought out of box and questioned ourselves that can we utilize Amazon CloudFront to serve sitecore media?
We all know Amazon CloudFront provides to choose origin at the time of implementation. Most recommended way is to implement CloudFront with S3 (Simple Storage Service) as origin. For this we have product already available on Sitecore Marketplace known as CloudConnect.
The other ways to use CloudFront are with custom or EC2 based origins. This article explains step by step process to implement with custom or EC2 based origins for Amazon CloudFront. There are two parts of implementation
- Create Amazon CloudFront Distribution
- Sitecore Configuration
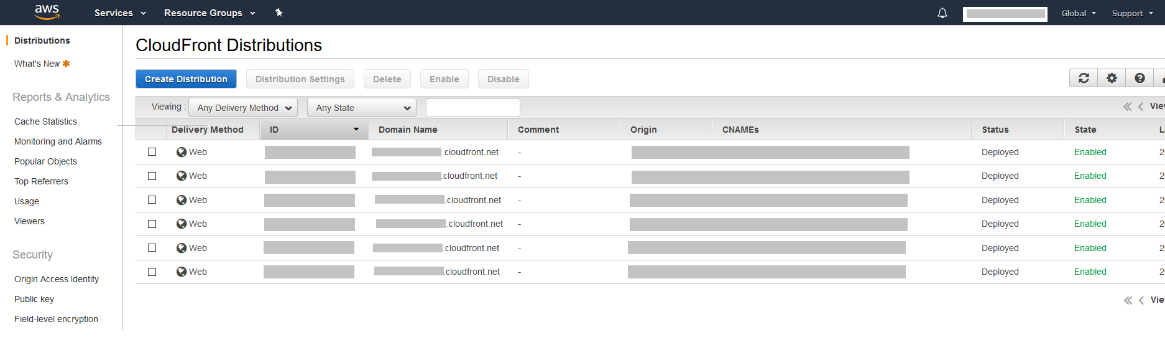
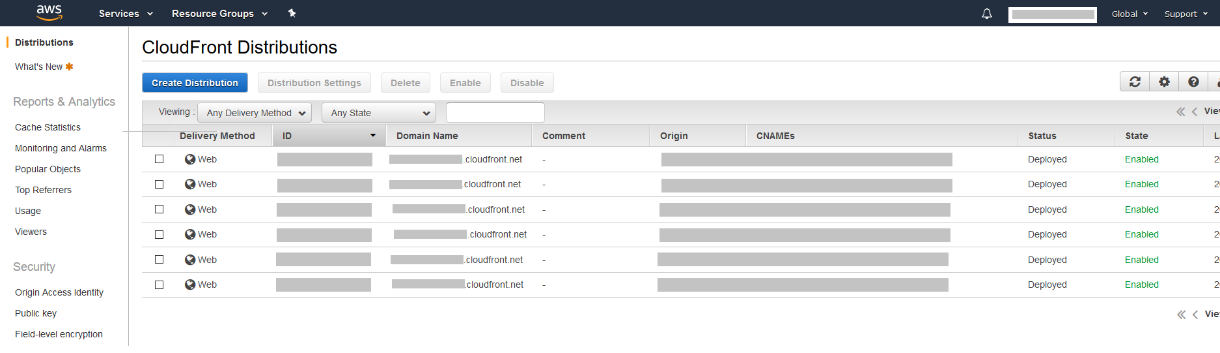
- Sign in to the AWS Management Console and open the CloudFront console at https://console.aws.amazon.com/cloudfront/
-
Choose Create Distribution
-
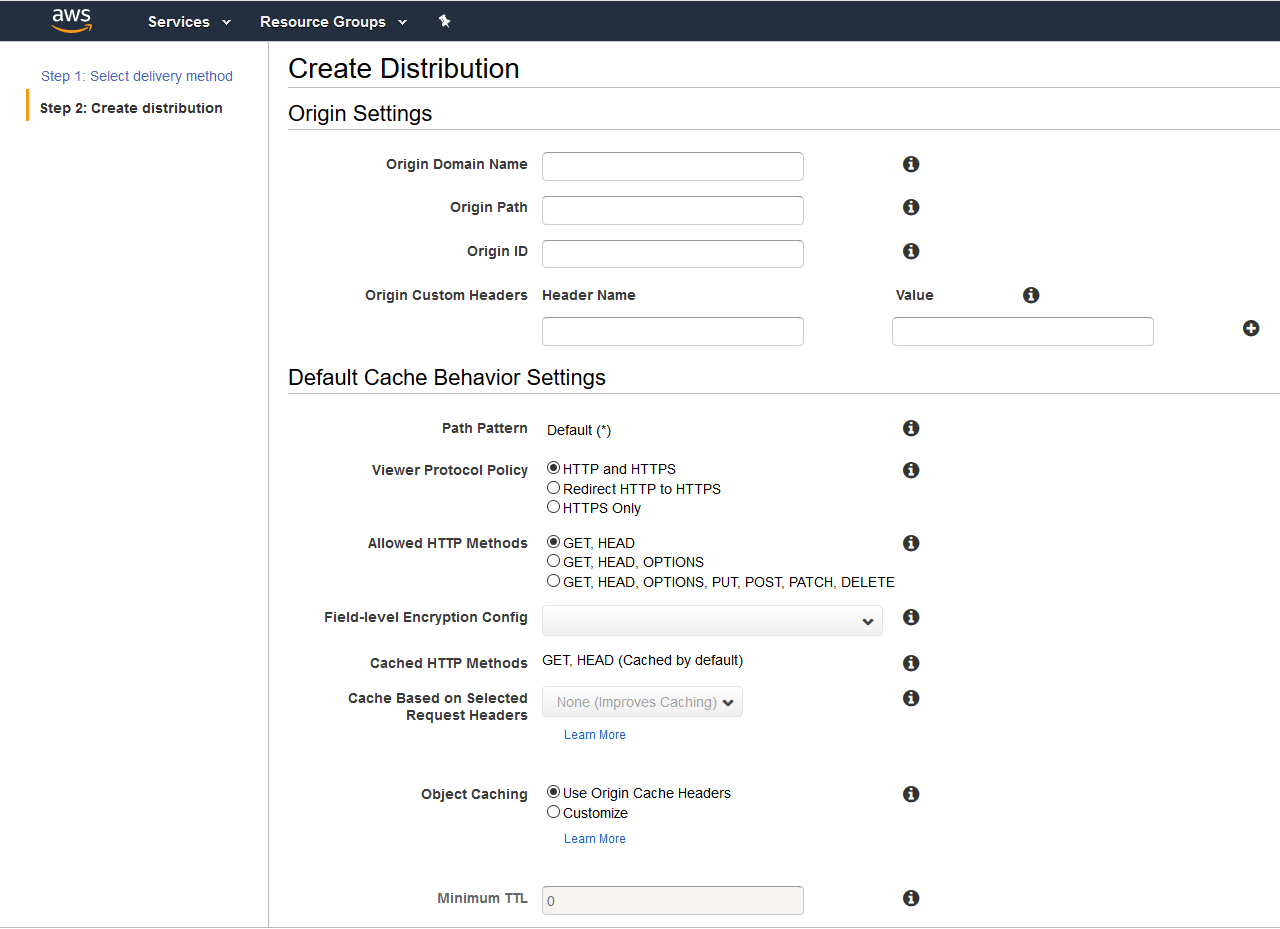
On the first page of the Create Distribution Wizard, in the Web section, choose Get Started
- Specify settings for the distribution. For more information, see Values That You Specify
When You Create or
Update a Distribution.
- In Origin Domain Name – choose EC2 / ELB / Custom Origin Name (Your Sitecore CD instance URL)
- Save changes.
- After CloudFront creates your distribution, the value of the Status column for your
distribution will change from InProgress to Deployed. If you chose to enable
the distribution, it will be ready to process requests after the status switches to
Deployed.
- The domain name that CloudFront assigns to your distribution appears in the list of distributions. (It also appears on the General tab for a selected distribution.)
-
You can use an alternate domain name, instead of the name assigned to you by CloudFront; by following the steps in Using Custom URLs for Files by Adding Alternate Domain Names (CNAMEs).
- When your distribution is deployed, confirm that you can access your content using your new CloudFront URL or CNAME.
Add Settings in configuration to set Media Server URL to the Amazon CloudFront endpoint from earlier step.

AlwasIncludeServerUrl property will cause the Media Link Provider to include the above URL in the media links that are rendered. This is only required to be true on CD servers, set this as false on CM so that those assets on that server are rendered from the database as normal.
Set Cacheability headers to public, so that the CDN will start caching our media.
- Your browser requests the image from the CDN Endpoint
-
As this is the first request – the CDN endpoint does not have this image in cache
- CDN calls your website – which is specified in Amazon CloudFront origin as the origin host.
E.g. ec2-XXX-XXX-XXX-XXX.ap-south-1.compute.amazonaws.com
- Website returns the image, CDN adds that to cache
- CDN returns image to user to serve the request
- Further requests for the same asset – in that now CDN has it in cache and returns it to the user. Which is improved process and asset will return faster than earlier
http://XXXXXX.cloudfront.net/-/media/democdn/demoimage.jpg
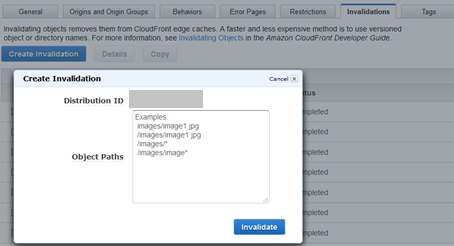
- From CloudFront Console > Choose your distribution > Click on “Invalidations” Tab
- Click on “Create Invalidation” button in textbox write the rule e.g. “/*” will remove everything and specific path-based rules as shown in example remove that specific asset from cache.
Custom code for Clearing CDN cache can be written so that user don’t have to go to Amazon Console again and again to clear/invalidating cache.
While using CloudFront CDN with any origin – CloudFront provides APIs and using those APIs, Sitecore commands can be configured.
Hope this article helps in clarify the process which we have followed while implementing this feature. If there are any suggestions or feedback please write back at info@addact.net
For this article – Technical Implementation done by Mitesh Patel(Sitecore Certified Developer) and Business Analysis, Documentation done by Kuntesh Bhatt.
Let us have coffee together and discuss your requirement for Sitecore. Mail us at info@addact.net.
YOU MAY ALSO LIKE


Want to improve your Sitecore platform? Get a free audit now!