Create SSL certificates for development websites
Published: 16 November 2022
Many a times, you need to run our local website in the HTTPS. You need to use an SSL certificate to run a local website in the HTTPS mode. To achieve this, you need to generate the local SSL certificates but that can be a very tricky business.
In this blog you will learn how to generate a basic SLL certificate and install it for your local website in the IIS.
Open the PowerShell in Amind mode and use the below give script to generate the certificate.
New-SelfSignedCertificate -DnsName "my.local.domain" -CertStoreLocation cert:\LocalMachine\My -FriendlyName "My Local Cert Name"
DnsName: dev.localhose.com this should match your localhost website name
- Note: The -DnsName parameter of the New-SelfSignedCertificate cmdlet takes an array of strings. You can add multiple domain names to a single certificate. like
New-SelfSignedCertificate -DnsName "mysite", "mysite.local", "mysite.siteco.re" -CertStoreLocation cert:\LocalMachine\My -FriendlyName "My Local Cert Name"
- Note: The -NotAfter parameter takes a DateTime, allowing you to set an expiration date for the certificate.
New-SelfSignedCertificate -CertStoreLocation Cert:\LocalMachine\My -DnsName "dev.localhost.com" -FriendlyName "MySSLCertificate" -NotAfter (Get-Date).AddYears(10)
After you have executed the above command, you will be able to see the success message as shown below.

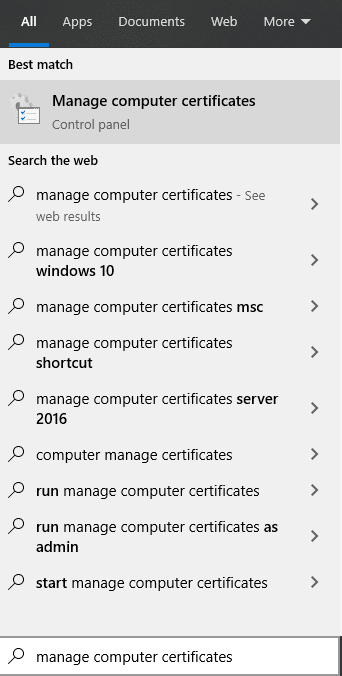
Once the above steps are completed, you need to add this certificate to the Trusted Root. Type “manage computer certificates” in windows search and then open the Manage Computer Certificates.
Expand Personal > Certificates
Here you will see the generated certificate. You can right click on it and copy.
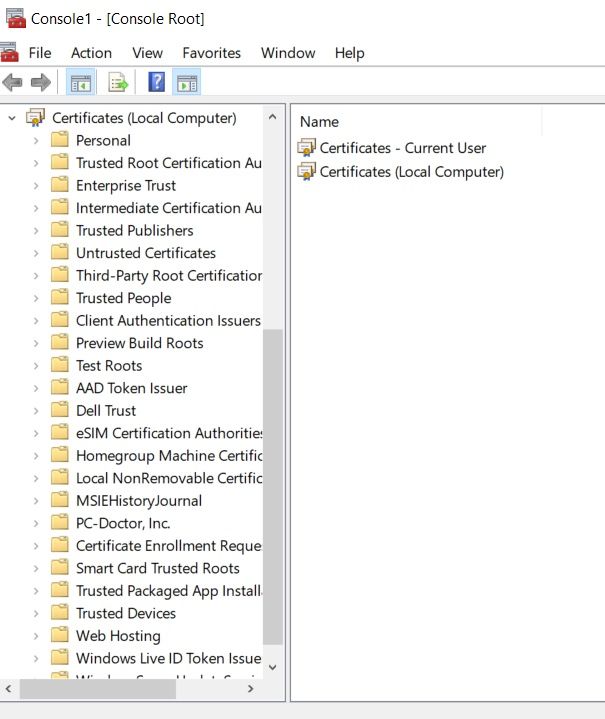
Now, open the Trusted Root Certificate Authorities > Certificates from the left side pane and paste the copied certificate in this folder. Your generated certificate is now added to the Trusted Root.
In the last final step, open your IIS and expand the Sites. Select your website, right click on it and choose “Edit bindings.” Click Add to add the HTTPs binding.
On the new windows choose the type as HTTPS and the hostname as dev.localhost.com. The hostname should match the name on the certificate.
Now, select the SSL certificate you generated and click okay.
Restart your website in IIS. Now you can debug your website using HTTPS.

Mitesh Patel - Technical Head - ADDACT
Sitecore || XMCloud || OrderCloud Certified
Mitesh, a distinguished Technical Head at Addact/Addxp, is a prominent figure in Sitecore/XMCloud/OrderCloud certified writing. From Sitecore XM Cloud Developer Certification to Sitecore 10 .NET Developer Certification and Sitecore OrderCloud Certification, Mitesh's expertise is unparalleled. Mitesh is not only a skilled Sitecore CMS developer but also a 12+ years experienced software engineer proficient in various technologies such as MVC, ASP.Net, C#, jQuery, and Azure cloud/AWS.