Create Sitecore JSS React Application and Apply Personalization
Published: 15 February 2021
Sitecore XP provides one platform to manage personalized content delivery across channels and at scale. It also provides multi-site and multi-lingual content management system (CMS). Sitecore provides an SDK for JavaScript developers called Sitecore JavaScript Services (JSS) that enables us to build full-fledged solutions using Sitecore and modern JavaScript UI libraries and frameworks.
Sitecore JSS provides a lot of benefits in comparison to the classic Sitecore MVC development approach and gives more freedom to front-end developers. JSS supports three major frontend frameworks: Angular, React, and VueJS. This Demo will mostly cover all the steps for integrating a ReactJS application with Sitecore using Sitecore-JSS in Sitecore-first approach.
Pre-requisite:
- Node.js v14.15.4
- Sitecore 10
- Sitecore JavaScript Services 15.0 (needs to be installed under Sitecore)
- Sitecore JSS CLI (optional) — (If installed, it will be easier to create app & components)
Below are the following steps to connect a ReactJS application with Sitecore.
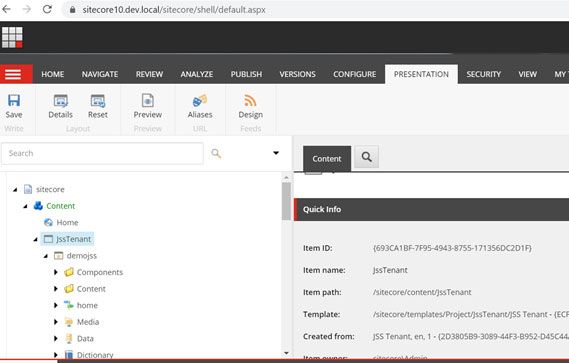
Step 1: Create a Sitecore application:
Create a tenant under this path/sitecore/content, after that create site under the tenant.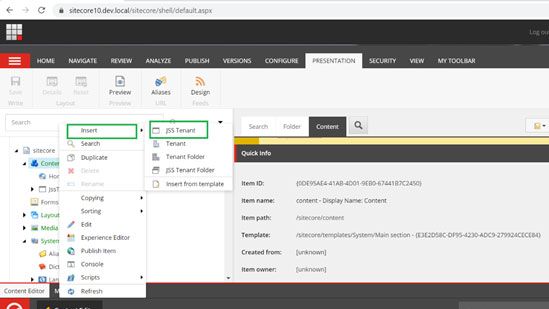

JSS is a playground of Frontend developer and rendering of components is always performed by NodeJS engine. So, if you are using code-first approach, all the templates, content, and renderings will be done from front-end. On the other hand, if you are using sitecore-first approach the template and content can be created by sitecore-developers with mutual agreement with front-end developers.
Step 2: Create React application:
Include scripts for starting (npm install) and By default JSS cli creates application using code-first approach.
All the required Sitecore-JSS packages will be added by default. So, no need to manually install them.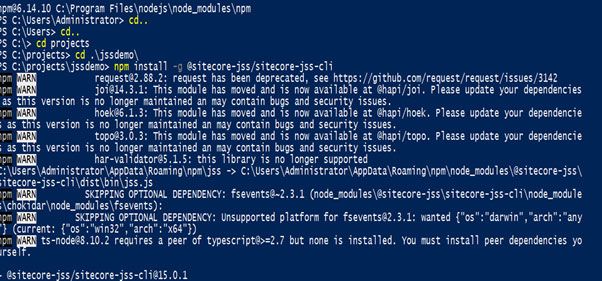
And than create application.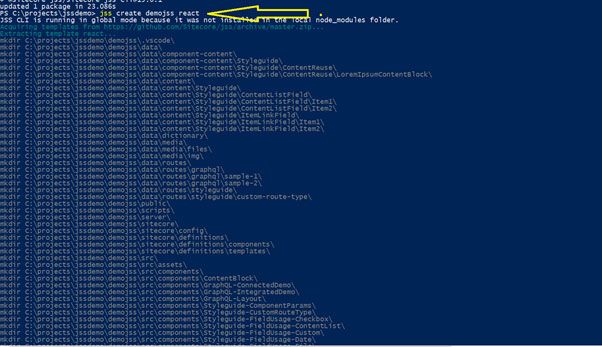
Step 3: Configure app’s site and host name
Open IIS and add your required hostname for sitecore instance.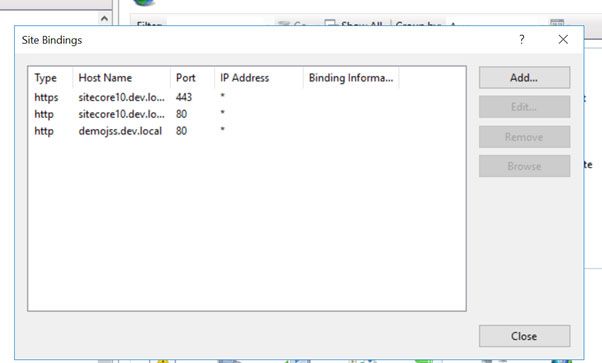
In the example it is demojss.dev.local
Ensure the desired host name is mapped to your localhost via a host (C:\Windows\System32\drivers\etc\hosts) file entry.
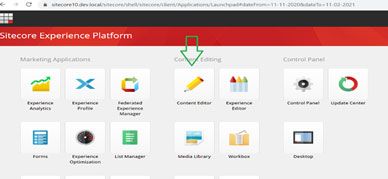
Step 4: Setup an API Key:
- Log into Sitecore (e.g. https:demojss.dev.local/sitecore) and open the Desktop application.
- Open content editor application
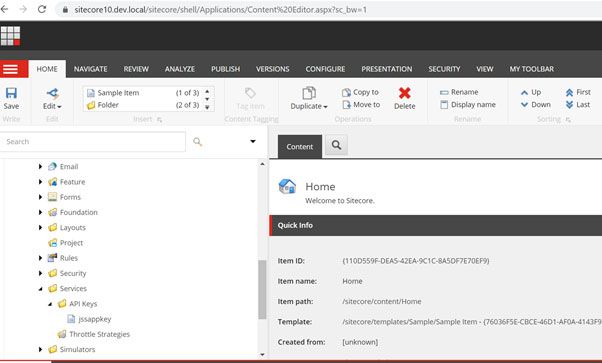
- Navigate to /sitecore/system/Settings/Services/API Keys in the content tree and add new API Key item. The item can be named anything; the name is for your reference only. Pick something meaningful, e.g. the name of your app. (Note: Don’t use the same API key for different application)
Set up the fields on the API key:
- CORS Origins: For local development setup, use * to allow all origins. In production, only allow specific origins (multiple origins can be separated by ;).
- Allowed Controllers: Similar to CORS origins for local development you can use *, and for production allow only the following controllers.

- Impersonation User: Leave it blank or use user extranet\anonymous. Do not ever use sitecore\admin or any other privileged user as the impersonation user.
Save the API key item and publish it. Make a note of Item ID. You’ll need this ID to connect the JSS app.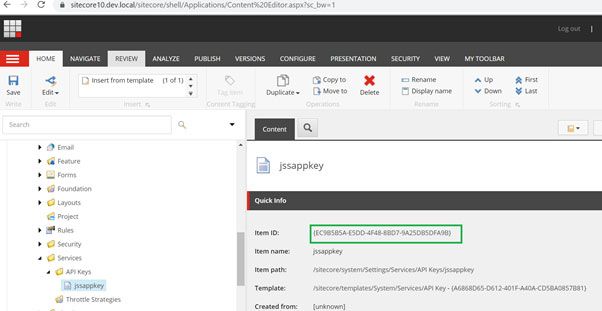
Step 5: Connecting React app (with SItecore-JSS) to Sitecore
- Configure connection information:
- Run npm run jss setup (or “jss setup” if you are having jss cli) in command line.
- Follow the prompts and give required piece of information.
- Website folder: This is the root physical path to the Sitecore instance, used to deploy config files and JS build artifacts. (Example: C:/inetpub/wwwroot/jssapp.dev.local)
- Sitecore host name: This is the host name of your JSS app, which was configured previously in Step 3. Example:http://jssdemoapp.dev.local
- API key: The API key ID created in Step 4.
- Deployment secret: Leave it blank, the setup process can auto-generate a random key, which we recommend. If you choose your own key, the secret must be:
- 32 or more characters long
- Randomly generated
Note: By default, the secret is stored in /scjssconfig.json and /sitecore/config/AppName.deploysecret.config — both of which are automatically ignored if you’re using Git for source control.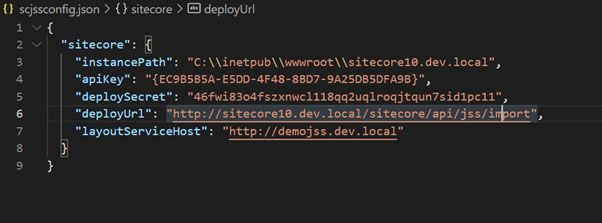
- App Deployment
- Run the following commands in command prompt/terminal.
- For local sitecore-instance: npm run jss deploy app –c –d.
Step 6: Component Creation:
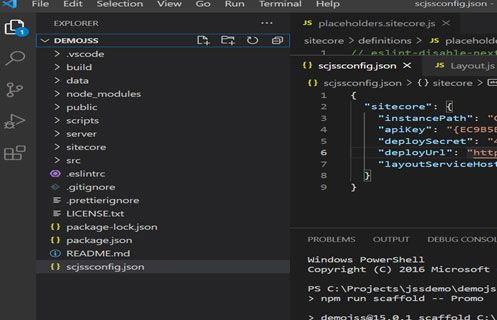
- Open your jss app in visual studio code
- In layout.jason file define placeholders.
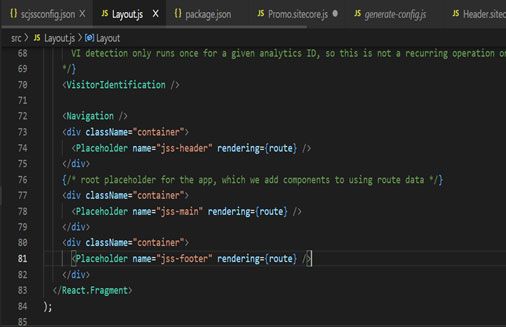
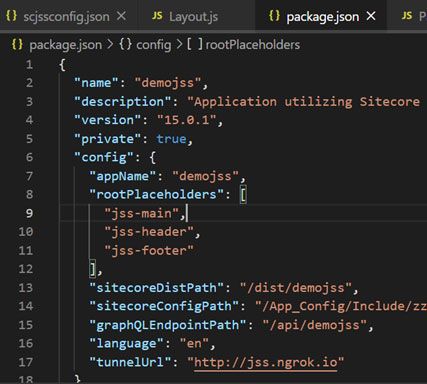
- Define root placeholders in Package.json file .
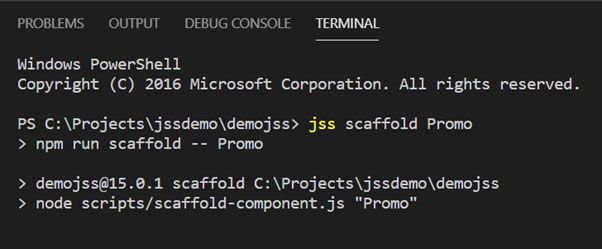
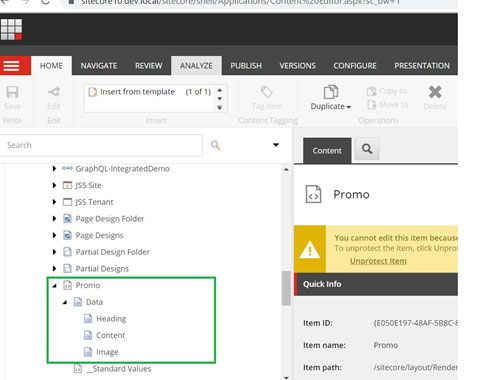
- Create component through “scaffold component name” command, here we have created promo component.
- After that it would generate two files one we can say view file in that we can define html and another would be as like template file where we can we define fields of component.
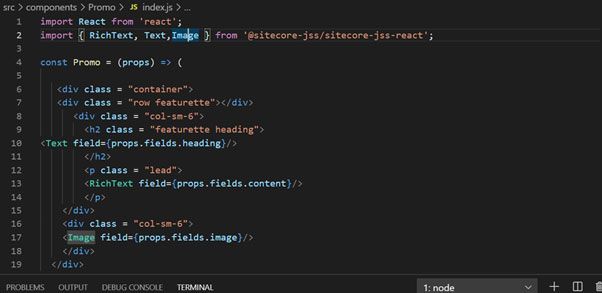
- Here in promo.sitecorejs file we Integrated fields of my promo component, which types are Richtext, singlelientext, image.

- In promo.indx file we have Implemented html and configure fileds according to html of our promo component.
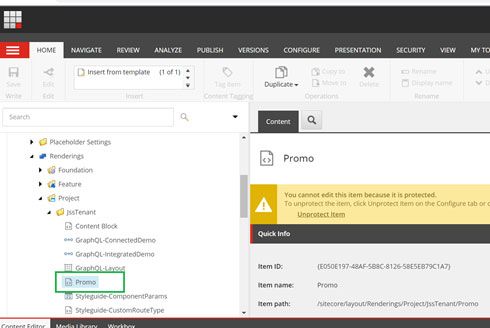
- After that deploy the app through jss deploy app -c -d command , your component and template file would be imported in sitecore side.
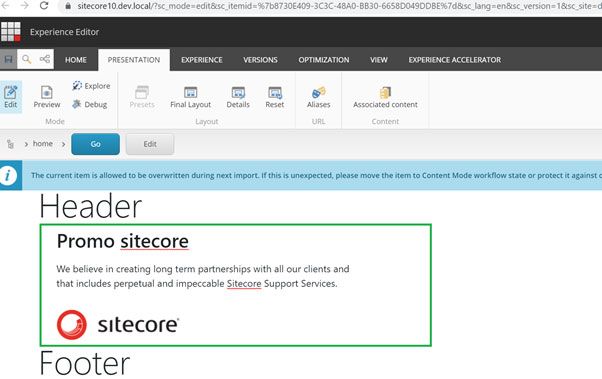
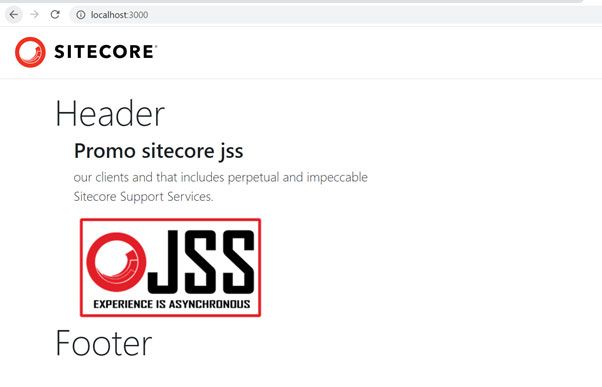
- Now open home page in experience editor and add a promo component home page and create one data source of it.
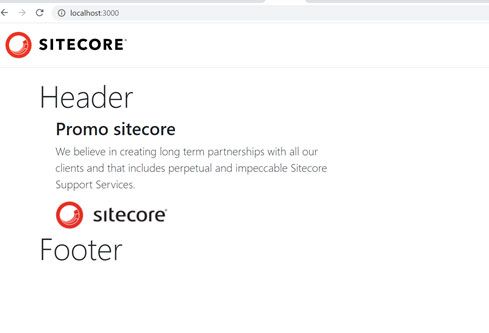
- In below promo component you can see title description and image according to three fields.
Data source Under this path: /sitecore/content/JssTenant/demojss/Data/Promo/Promo sitecore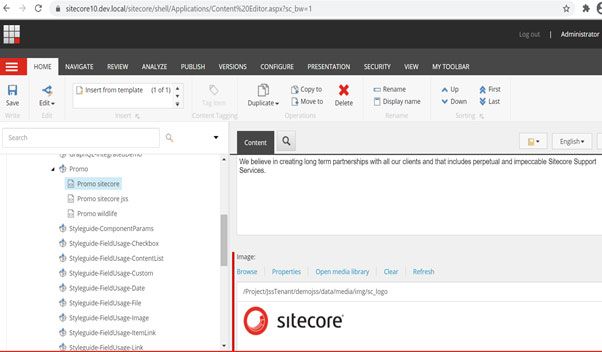
- After that process ,save all the changes and the switch in visualstudio code and in terminal mode apply command jss start:connected.
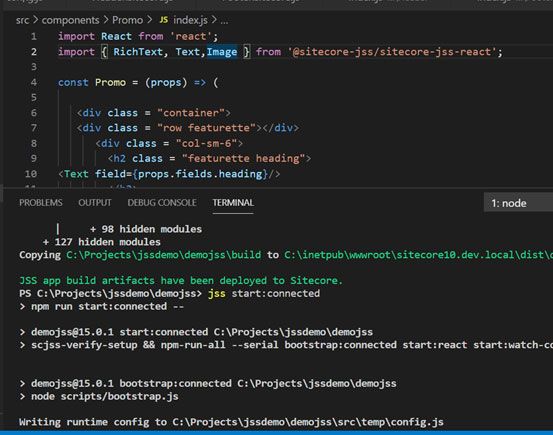
- Now you can see promo component on UI side.
Step 7: Personalisation
- Now we have applied two personalisation rules and created data sources and put content according to that.
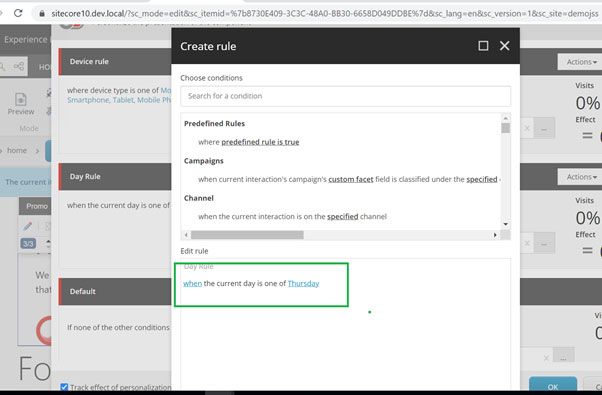
1 Rule(Day Rule) :
on specified day, accordingly you can see content of promo on UI.
So we created one another data source and put different content in to that.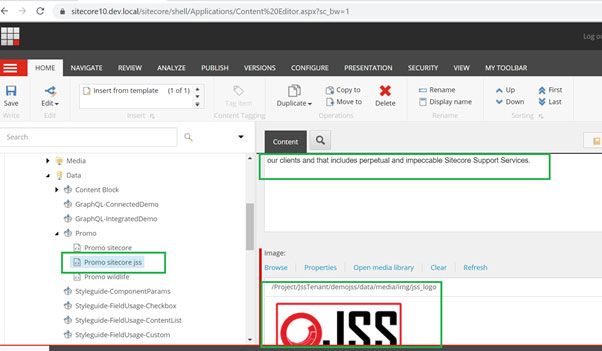
- In day rule we have selected particular day ex.Thursday and and selected data source which indicate above, so on Thursday on ui, you would see content of above defined data source.
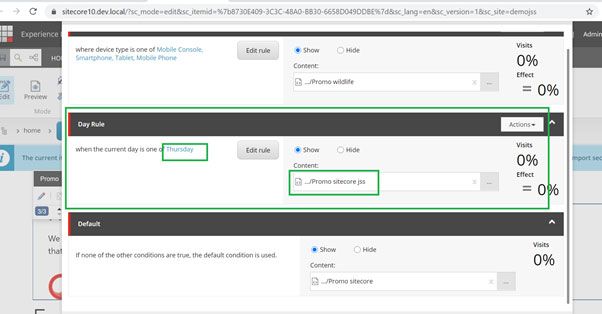
2: Device rule :
In device rule you can see different content in mobile and tablet devices.so we created one another datasource and put content in to that.
- Now we selected above indicated data source in this rule and save it, and when you see page in mobile mode on ui so you would see these above promo content.
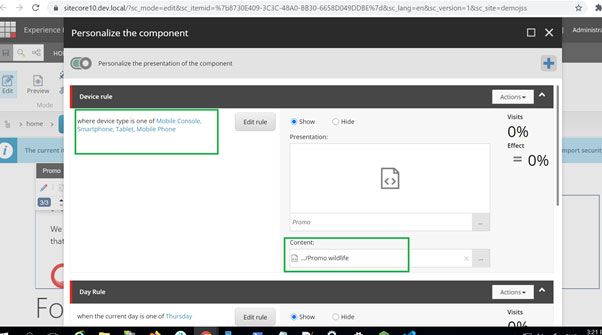
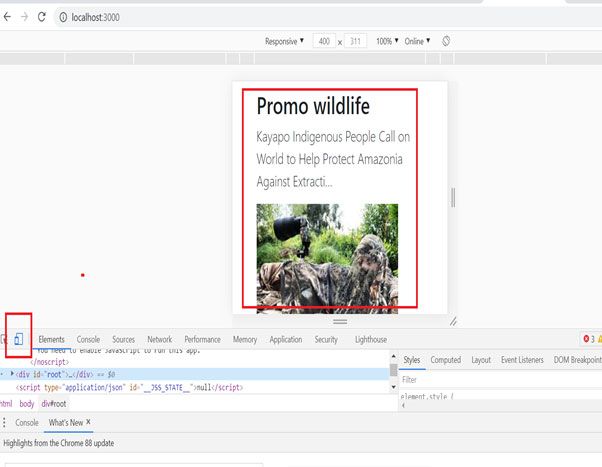
In Device Rule we have set default promo which you can see in below image.

Mitesh Patel - Technical Head - ADDACT
Sitecore || XMCloud || OrderCloud Certified
Mitesh, a distinguished Technical Head at Addact/Addxp, is a prominent figure in Sitecore/XMCloud/OrderCloud certified writing. From Sitecore XM Cloud Developer Certification to Sitecore 10 .NET Developer Certification and Sitecore OrderCloud Certification, Mitesh's expertise is unparalleled. Mitesh is not only a skilled Sitecore CMS developer but also a 12+ years experienced software engineer proficient in various technologies such as MVC, ASP.Net, C#, jQuery, and Azure cloud/AWS.