
Project Configuration in XM Cloud: A Step-by-step Guide
Published: 12 July 2023
Project Configuration:
Project Setup:
To start, first clone the XM Cloud project template which includes all the configuration files of Docker.
Find the repositories on GitHub at https://github.com/orgs/sitecorelabs/repositories.
We will use the https://github.com/sitecorelabs/xmcloud-foundation-head-staging repository, as it is mentioned in the XM cloud documentation - https://doc.sitecore.com/xmc/en/developers/xm-cloud/walkthrough--setting-up-your-full-stack-xm-cloud-local-development-environment.html .
Then clone the repository as: git clone https://github.com/sitecorelabs/xmcloud-foundation-head-staging.git xmcloud-sxa.
Now follow the below steps for project configuration.
Go to the folder -> src\sxastarter to find the SXA starter template project.
Then setup jss in that folder. If you are unable to find jss command, install it using the following command: npm install -g @sitecore-jss/sitecore-jss-cli.
The XM Cloud CM container has an API key xmcloudpreview which is pre-configured with the GUID {1C8CF303-D973-4D40-811B-D3297D4643F2}, so we will use that one.
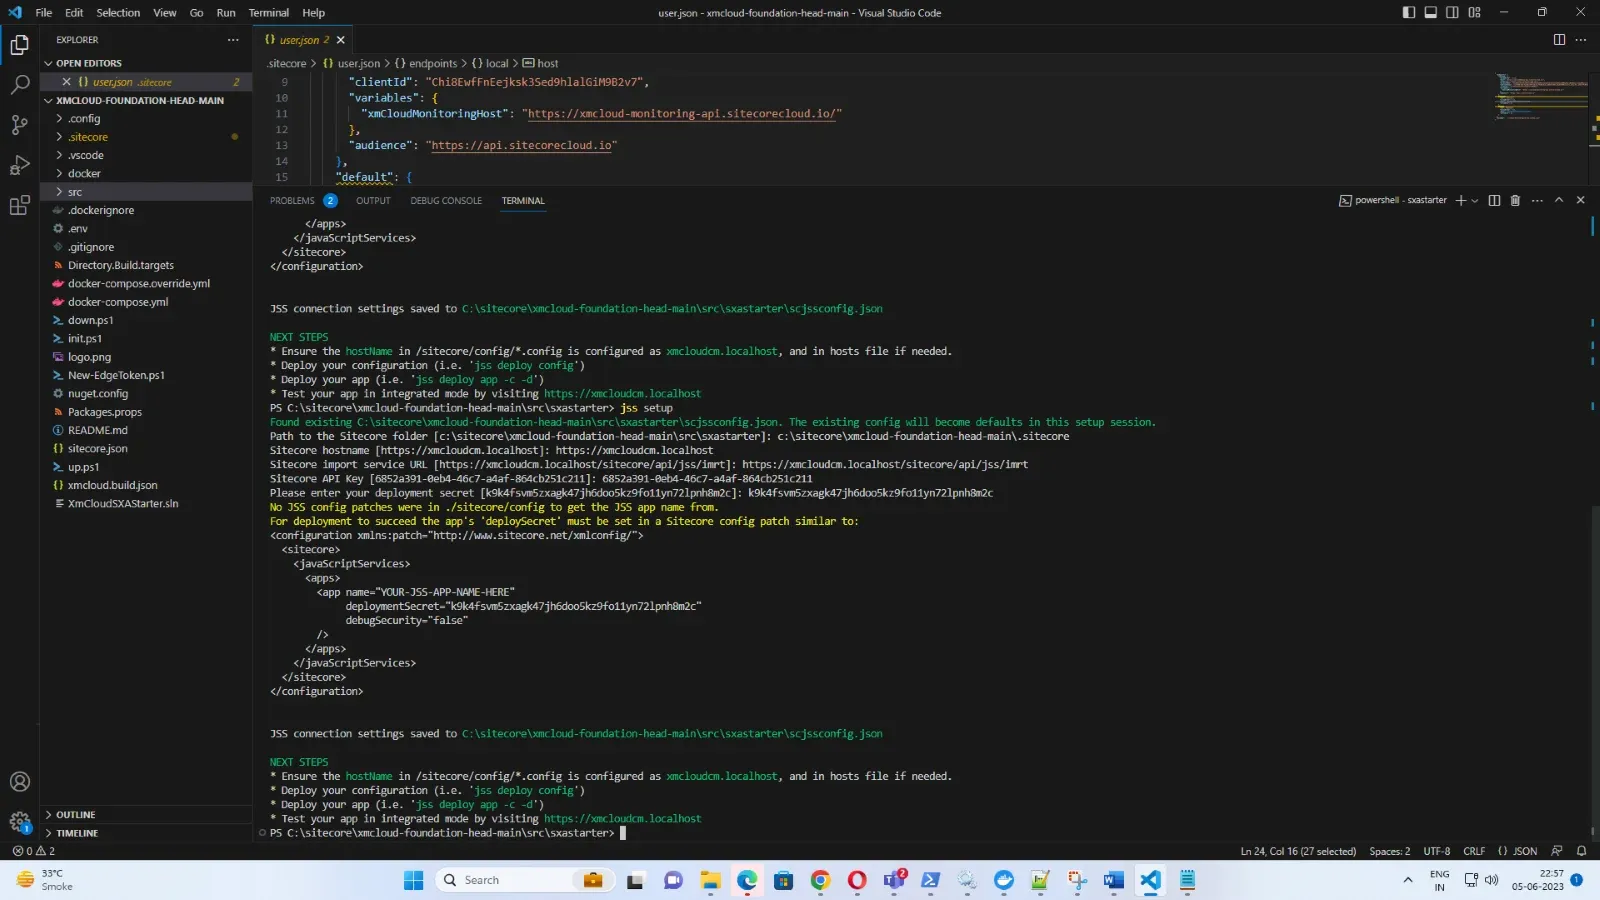
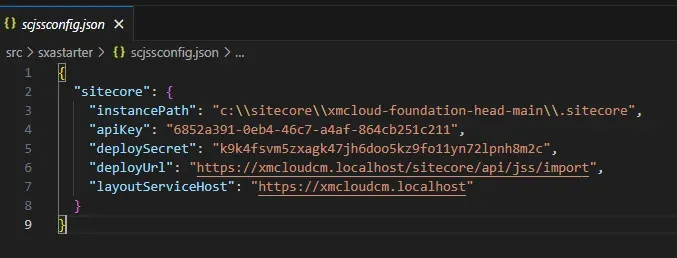
In XM cloud we also have another approach to deploy the project to and so we will ignore the next steps. Post executing the jss setup command a file named scjssconfig.json will be generated.
Setup of XM Cloud for deployment of JSS app:
The environment is empty, we need to prepare it for deployment of jss app. For this, we’ll scaffold a headless tenant and headless site with jss app name.
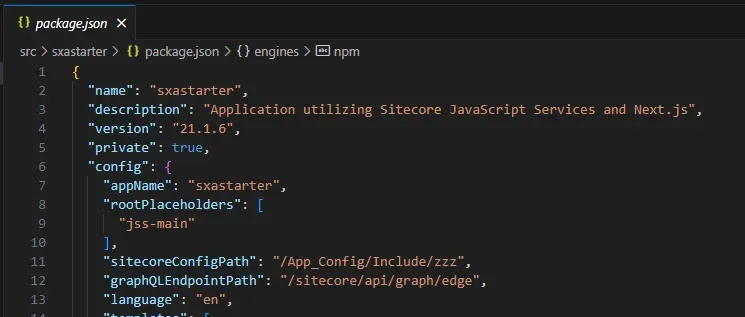
Here the name is sxastarter.
Step-1: Open the content editor and create a headless tenant: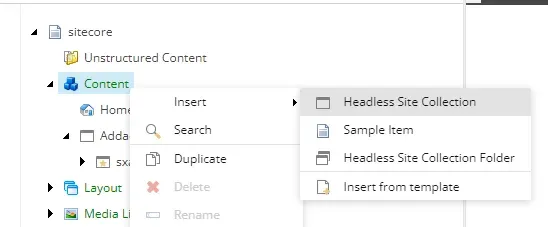
Step-2: And on the tenant create a headless site with the name sxastarter: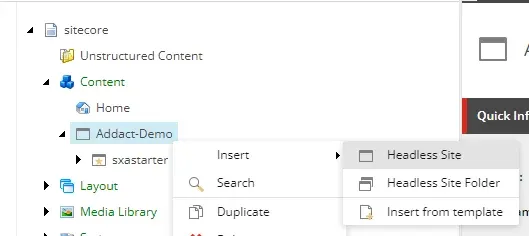
Step-3: Configure this site in 3 tabs: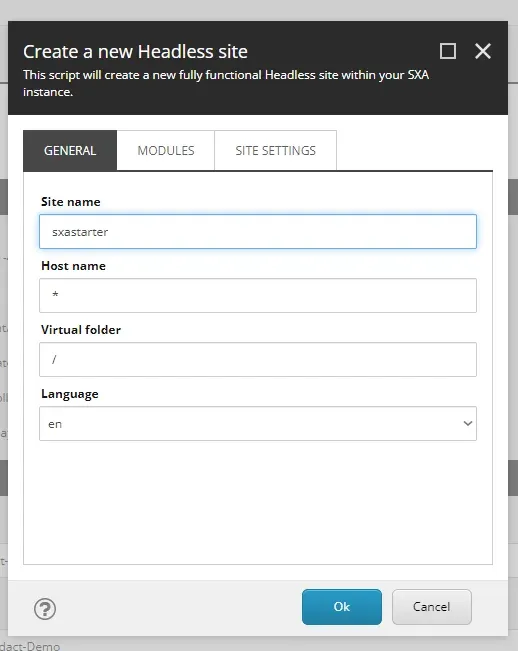
Step-4: Keep the default selected modules: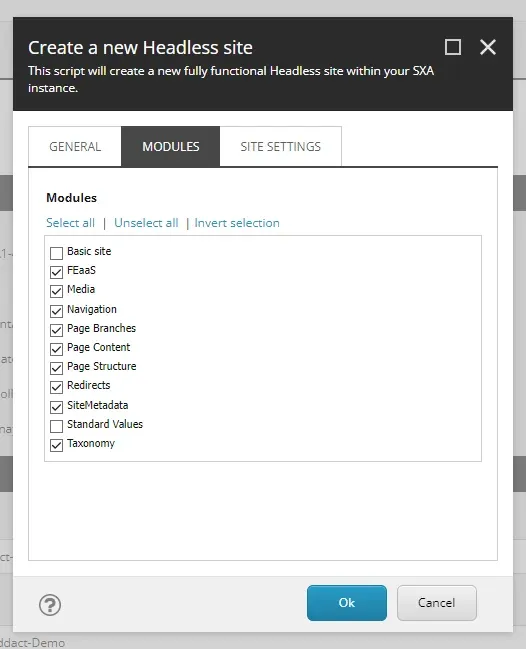
Step-5: Copy the deployment secret from the scjssconfig.json file: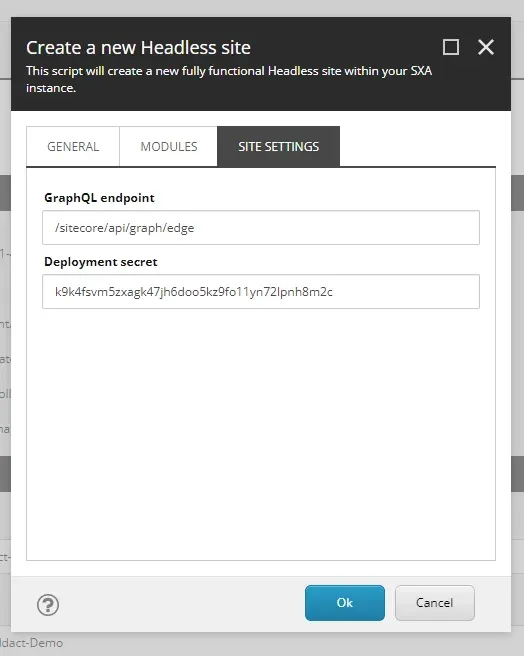
Starting the App:
Execute npm install command to prepare the app, then execute npm run start:connected to start the app in Sitecore connected mode.
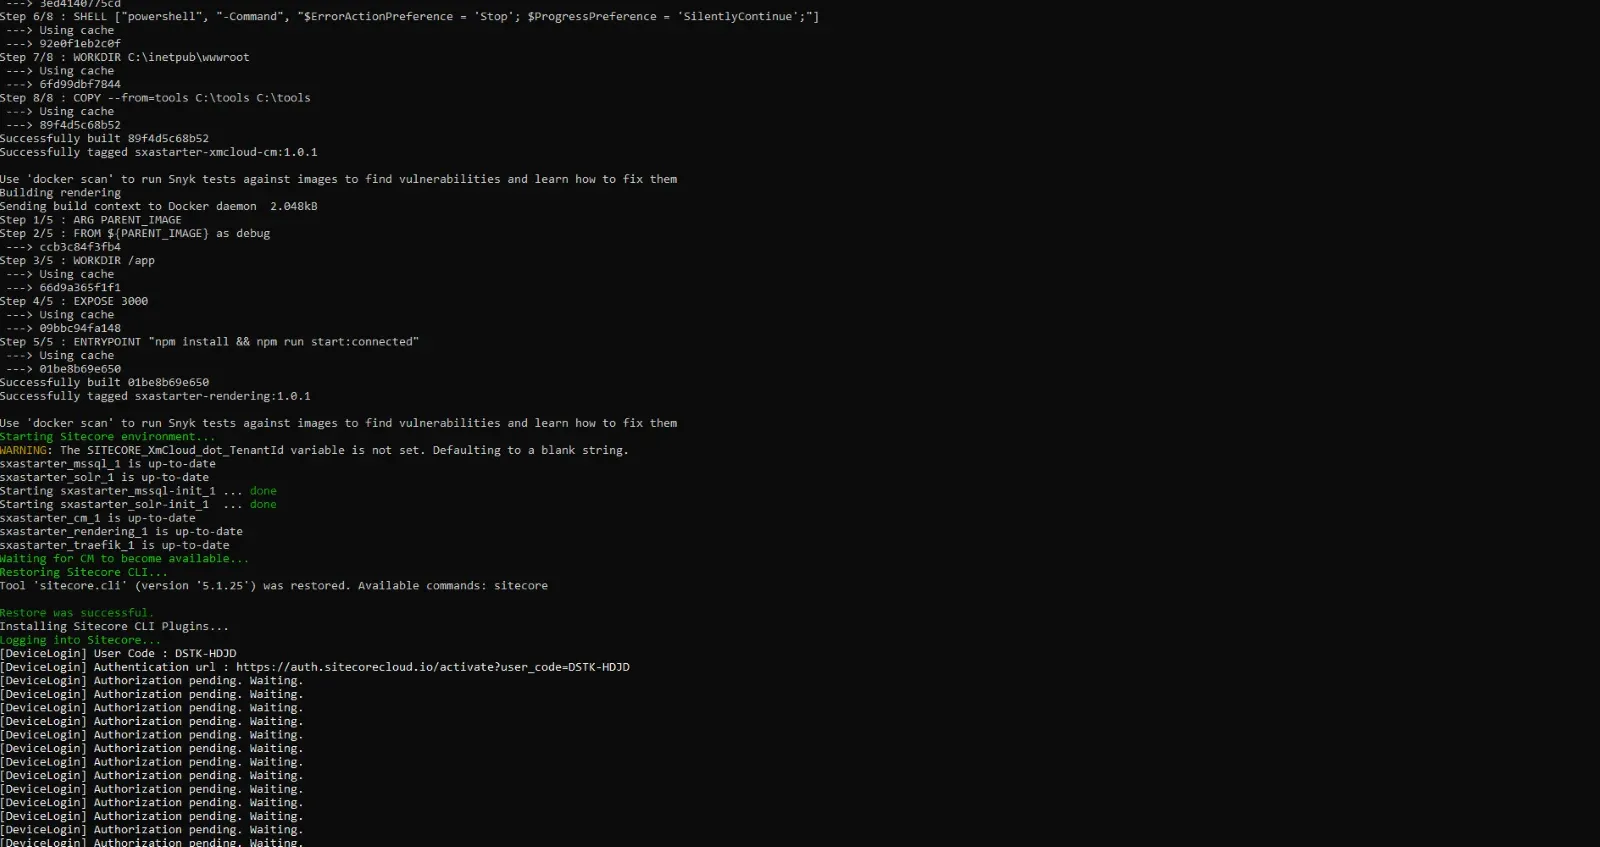
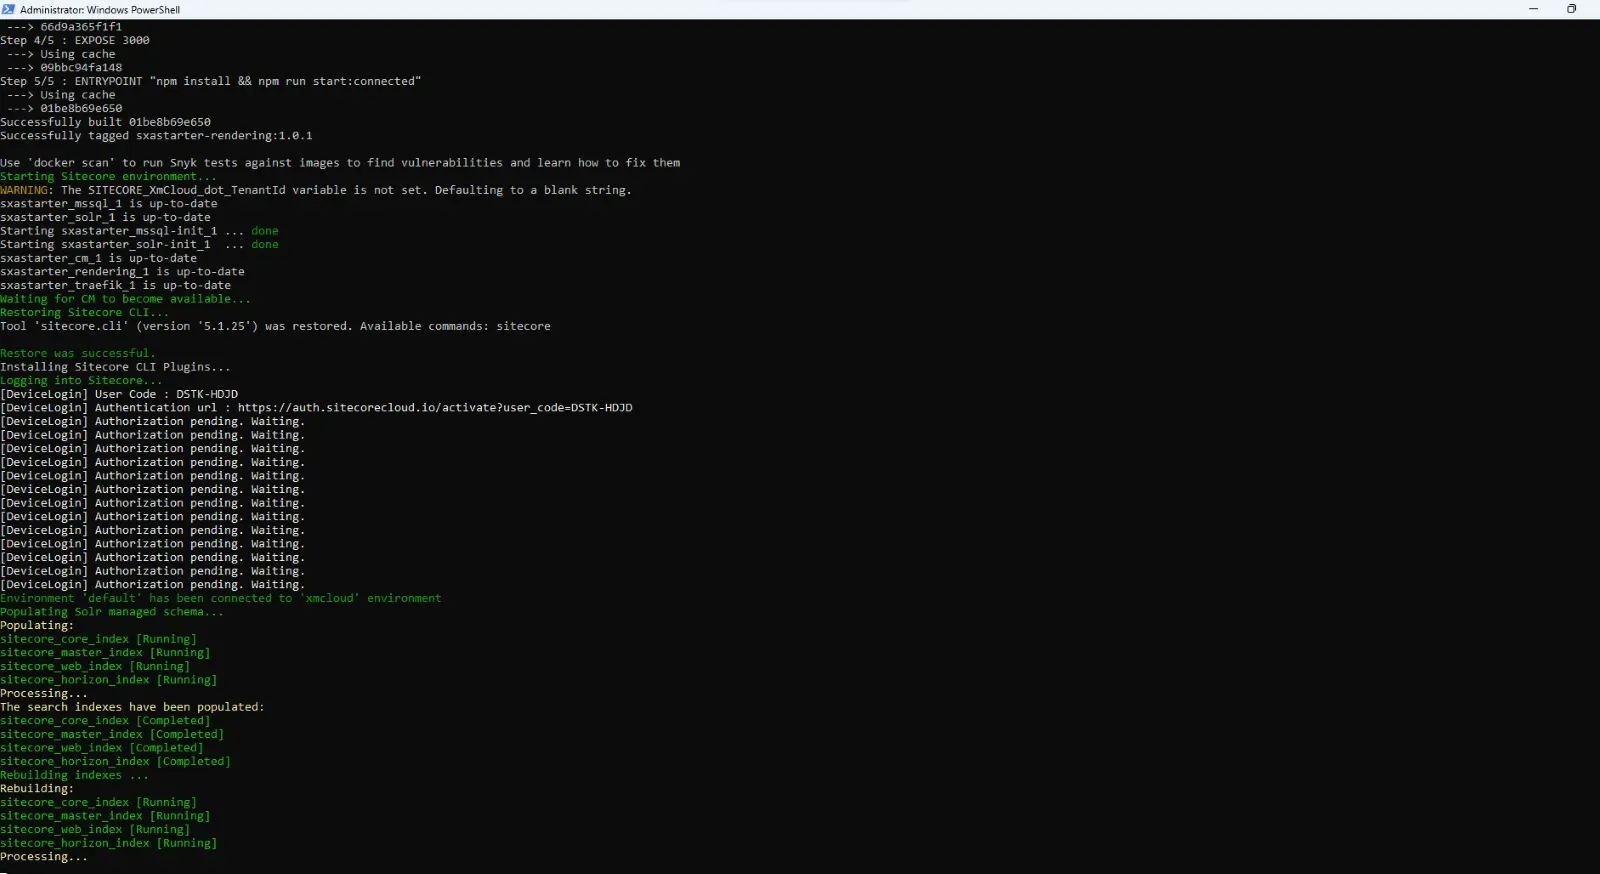
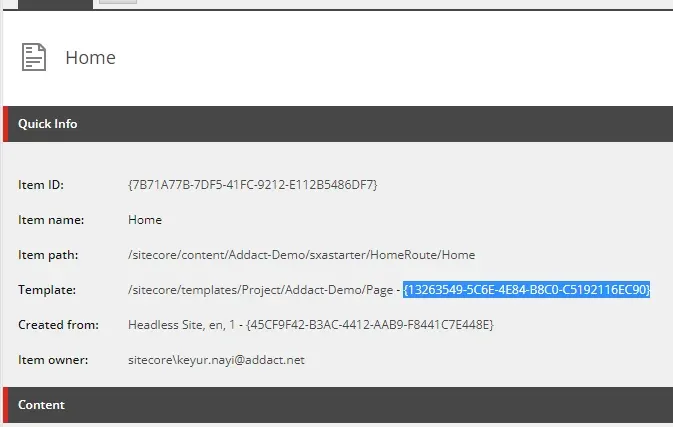
The GUID to be used is the template ID of the Home item of the JSS app:
To Disable personalize: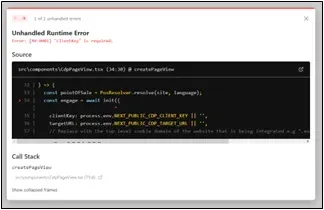
To solve the above-mentioned error: Comment out the CdpPageView in the src\sxastarter\src\Scripts.tsx file: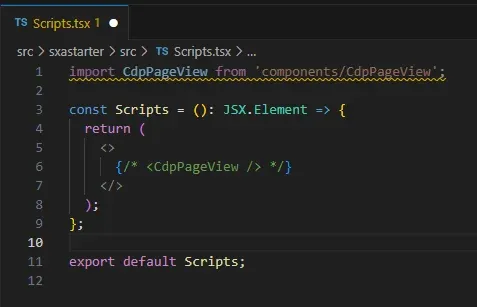
Now we have a white screen.
Now open the page in the Experience editor and we can edit the page.
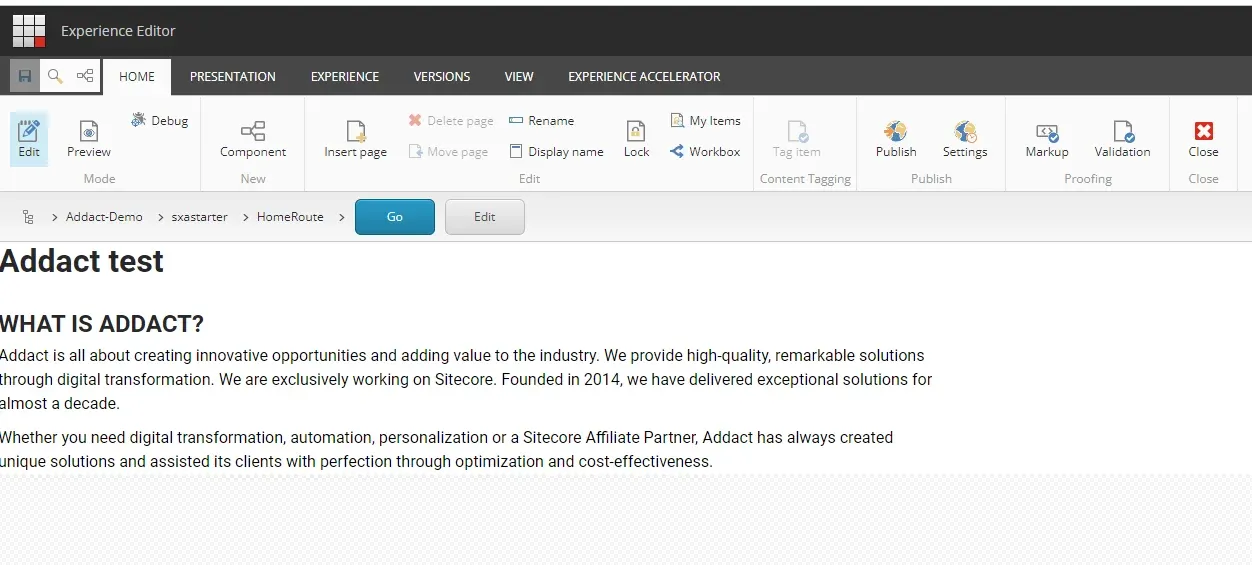
Now, our XM Cloud setup using the docker is completely done. Follow the steps and tips given in this blog and you’ll be able to successfully set it up.

Mitesh Patel || Chief Technology Officer (CTO) | ADDACT
Sitecore AI Certified || XMCloud || OrderCloud Certified
Mitesh Patel is the Chief Technology Officer (CTO) at Addact with 12+ years of experience in enterprise CMS, digital experience platforms, and cloud-native application development. He specializes in Sitecore, Contentful, Strapi, Kentico, Umbraco, Contentstack, and .NET, helping organizations build scalable, secure, and future-ready digital solutions through modern CMS, headless architectures, AI-driven experiences, and cloud technologies.