How to Integrate MCP Server in a Local Umbraco Project
Published: 11 February 2026
How to Integrate MCP Server in a Local Umbraco Project
The Model Context Protocol (MCP) is an open standard that allows AI assistants to interact with external data and tools safely. By integrating an MCP server into your local Umbraco project, you can allow your AI coding assistant to read your document types, create content, or even configure the backoffice via natural language.
Why Use MCP with Umbraco?
Normally, an AI knows "how to code" in C#, but it doesn't know your specific Umbraco schema or content. With the Umbraco MCP Server, your AI assistant gains "eyes and hands" inside your CMS.
- Automated Content: Ask AI to "Create 5 blog posts based on this PDF."
- Schema Assistance: Tell the AI to "Add a 'SEO Description' property to all my Document Types.
- Code Context: Let the AI see your Partial Views and Data Types to write more accurate code.
Prerequisites
- Umbraco 14 or higher: MCP relies on the Management API introduced in version 14.
- Node.js v22+: The official Umbraco MCP server is a Node-based application.
- An MCP Client: Such as Claude Desktop, Cursor, or VS Code (with Copilot).
Please find step by steps details for this
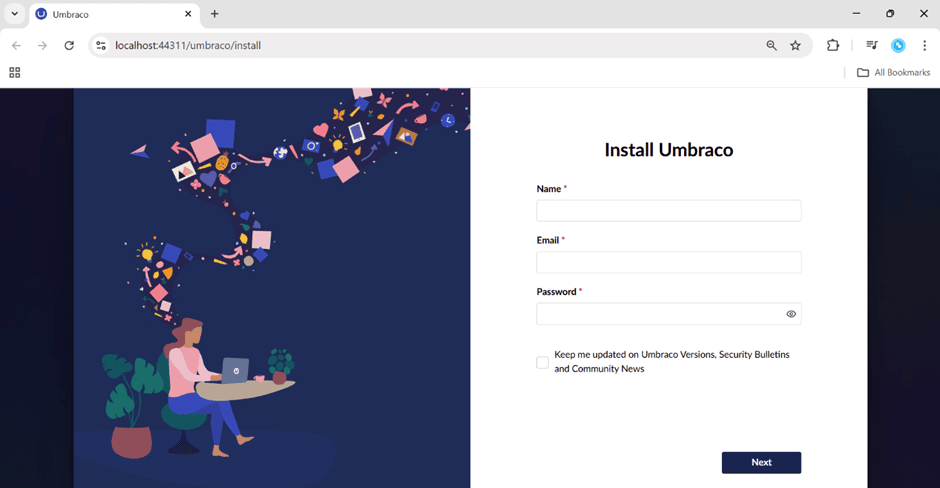
Step 1 : Create an Umbraco project
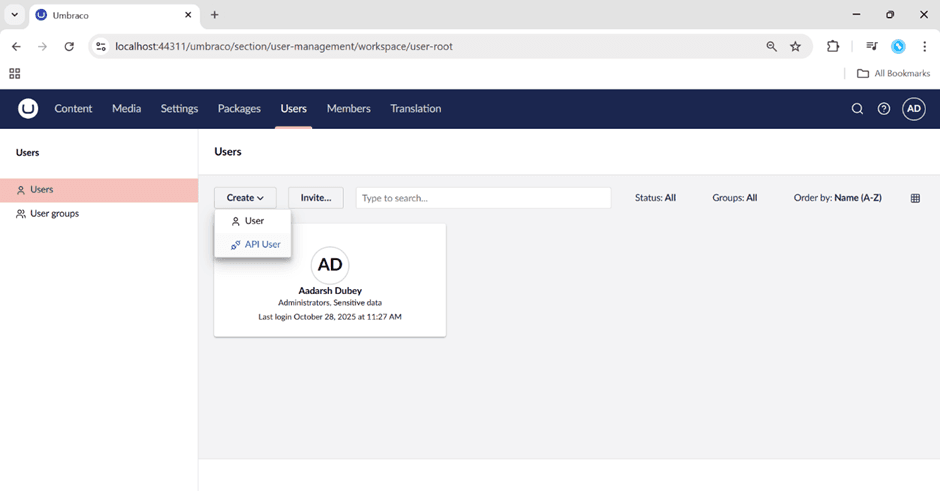
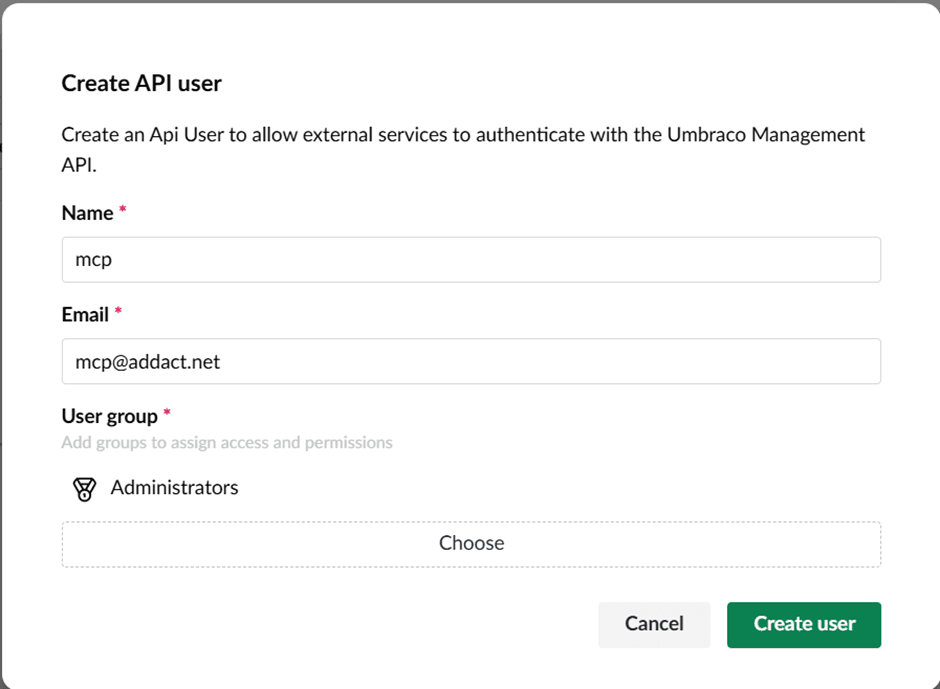
Step 2: Create an API user in our local project and assign it the Admin role (or another role with sufficient permissions) so it can be managed from the MCP server.
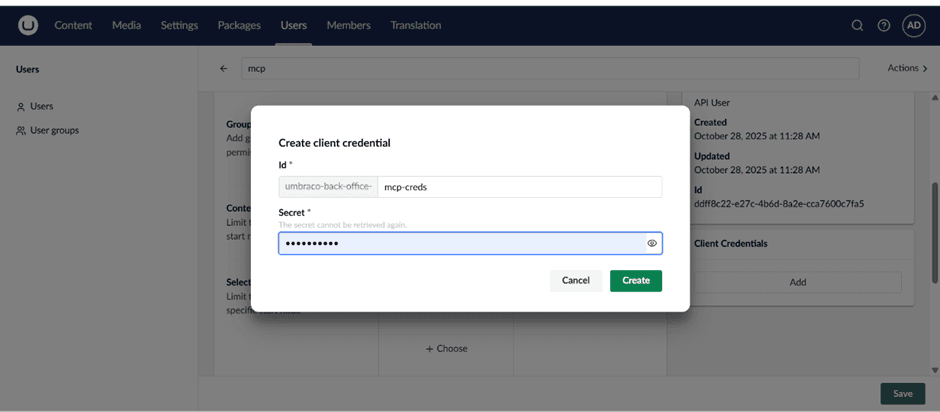
Step 3 : Create a client secret and Client id with the created user
Step 4: We can access MCP server with Claude, Vs Code and many more , We are going to use it with Vs Code so for using mcp server we need to add
{
"umbraco-mcp": {
"command": "npx",
"args": ["@umbraco-mcp/umbraco-mcp-cms@alpha"],
"env": {
"NODE_TLS_REJECT_UNAUTHORIZED": "0",
"UMBRACO_CLIENT_ID": "",
"UMBRACO_CLIENT_SECRET": "",
"UMBRACO_BASE_URL": ""
}
}
}
this in our mcp config in Vs code
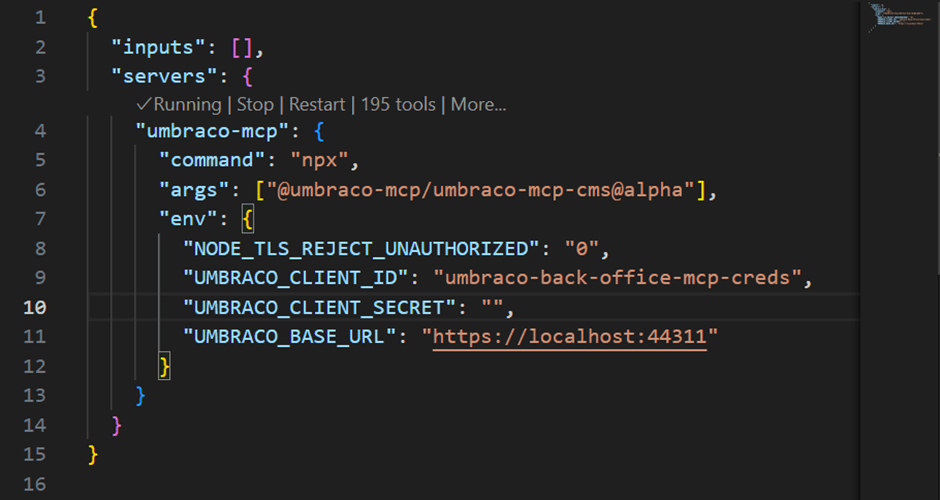
here in UMBRACO_CLIENT_ID we need to add client id which we have added it in Umbraco same for UMBRACO_CLIENT_SECRET and for UMBRACO_BASE_URL we need to add URL of our local project
Step 5 : After this we will have a MCP server for our Umbraco project but before that we need to install copilot in vs code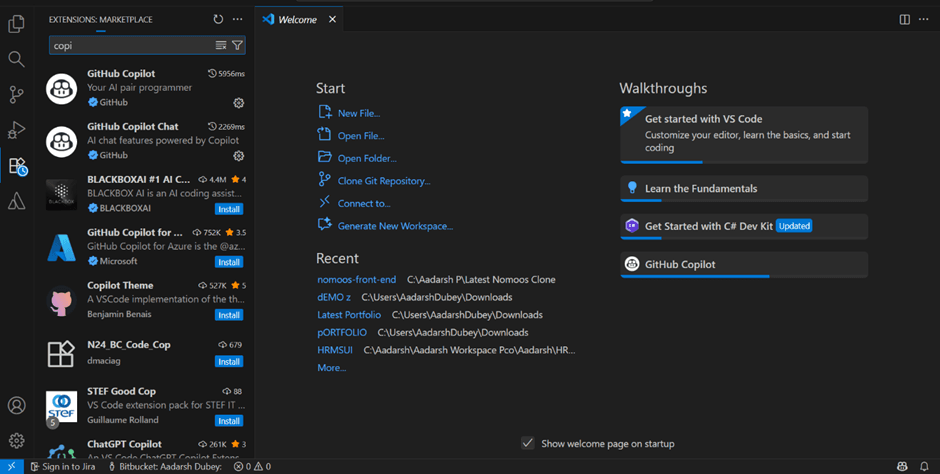
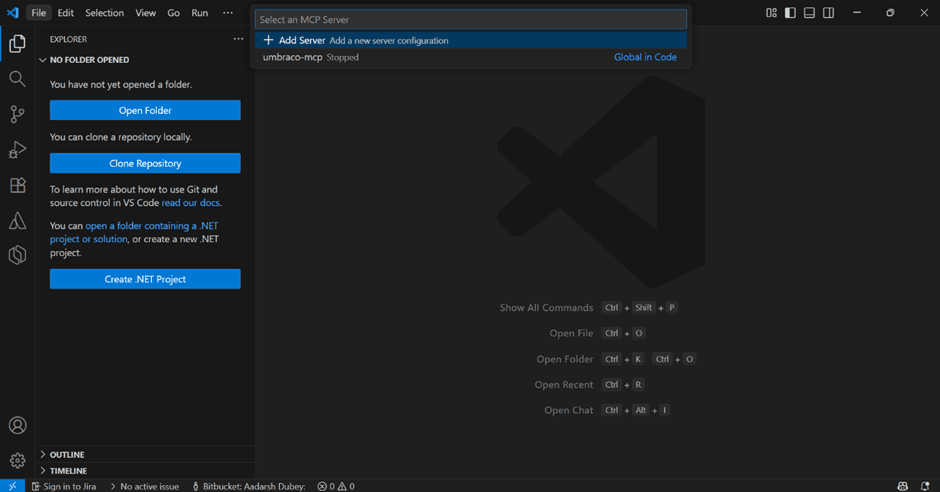
Step 6 : Now we need to start our server


Step 7: After starting the MCP server, open Copilot and begin interacting or performing any required operations.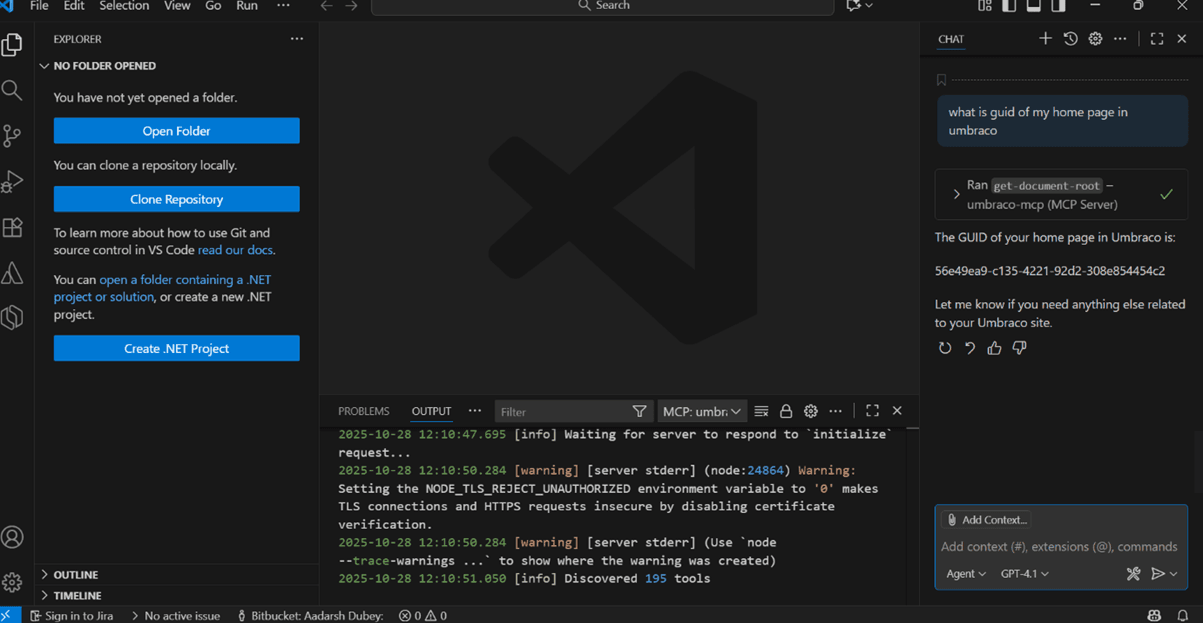
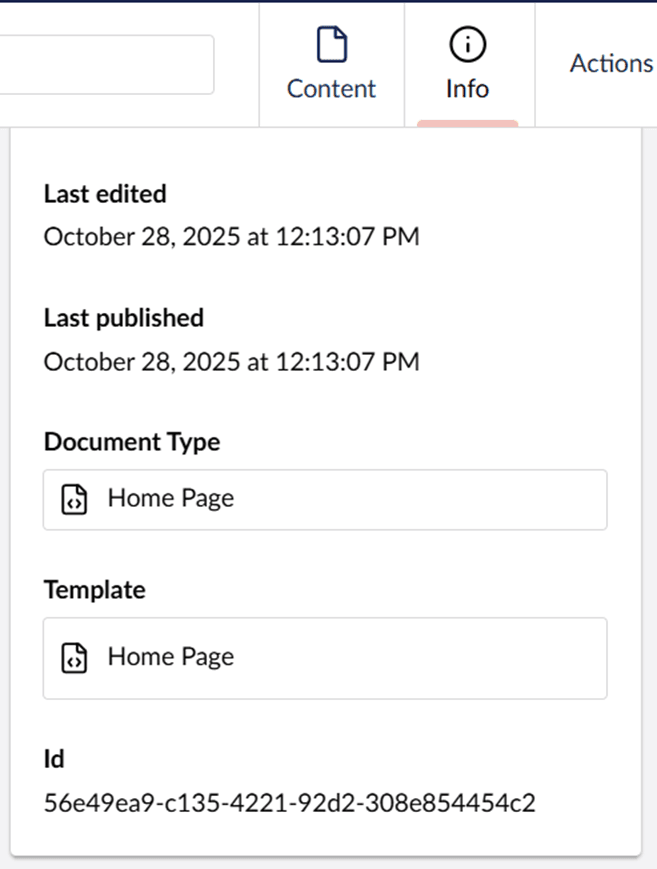
We can see that we have ask what is the Guid of our home node it replies us with the guid of our home node.
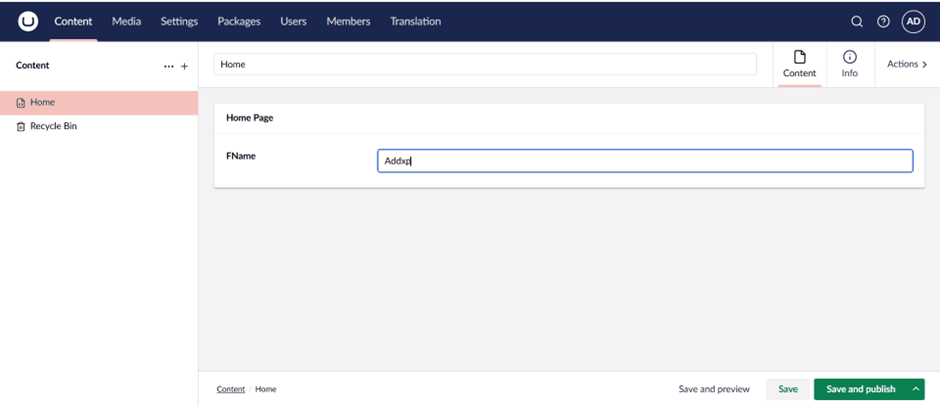
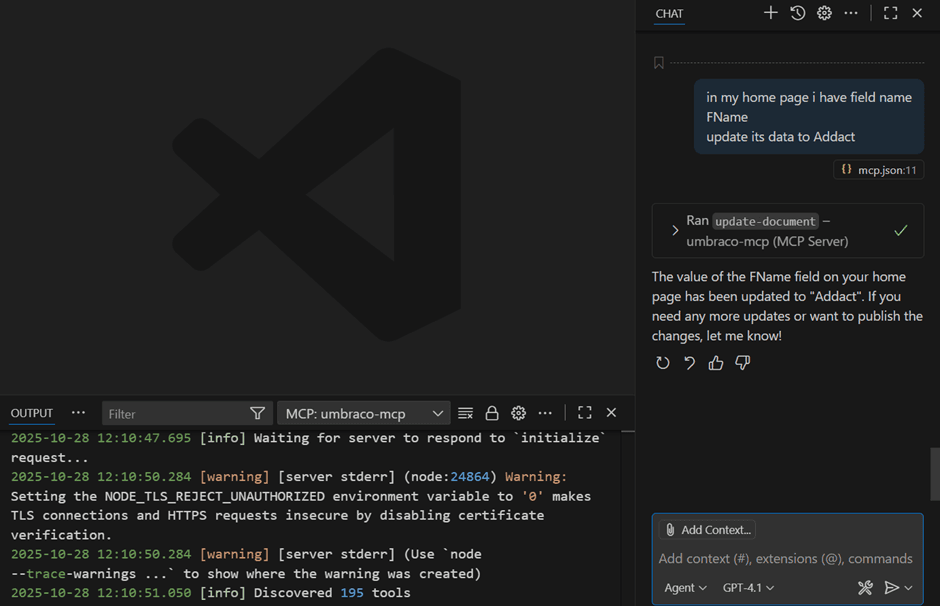
Now as shown in the above image we have field name FName and its value is Addxp we will change it with help of MCP server.

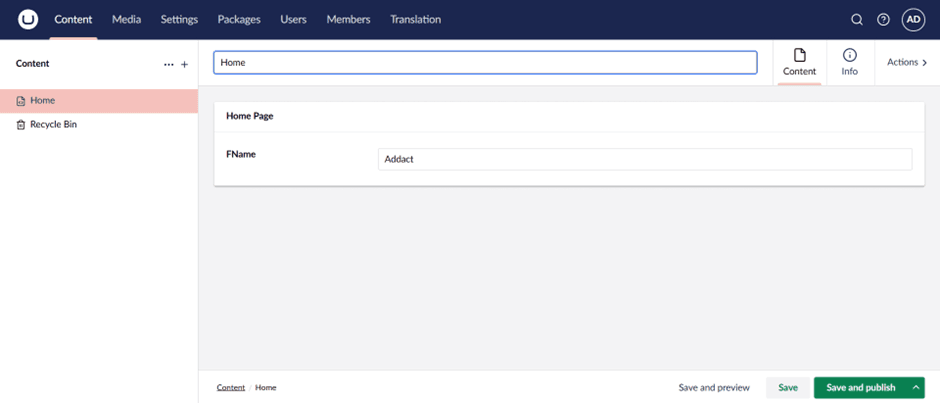
We can see that the value has been changed so this way we can use MCP server in our local system.

Aadarsh Dubey || Senior Software Engineer – .NET & Umbraco
Senior Software Engineer – .NET & Umbraco
Aadarsh is a .NET and Umbraco professional at Addact with 4 years of experience, specializing in Umbraco Headless implementations. He has strong expertise in C#, .NET Core, ASP.NET MVC, Web API, Azure, and front-end technologies including Angular and JavaScript, delivering scalable and modern CMS-driven solutions.